
After 25 years the air rail injection system on my 1978 Jaguar XJ-S became inoperable. The rail seemed to rust through on one of the injection tubes. The part was no longer available, and needed to be sourced from the wrecking yard. The decision was a foregone conclusion, the rail would have to be removed, and the holes in the intake manifold plugged until a replacement was available.
The objective was to remove the damaged air rails and plug the intake manifold holes while making sure the entire process could be reversed. No permanent modification would be done to the intake manifold or air rail assemblies.
First, remove the air rail straps from the intake manifold.
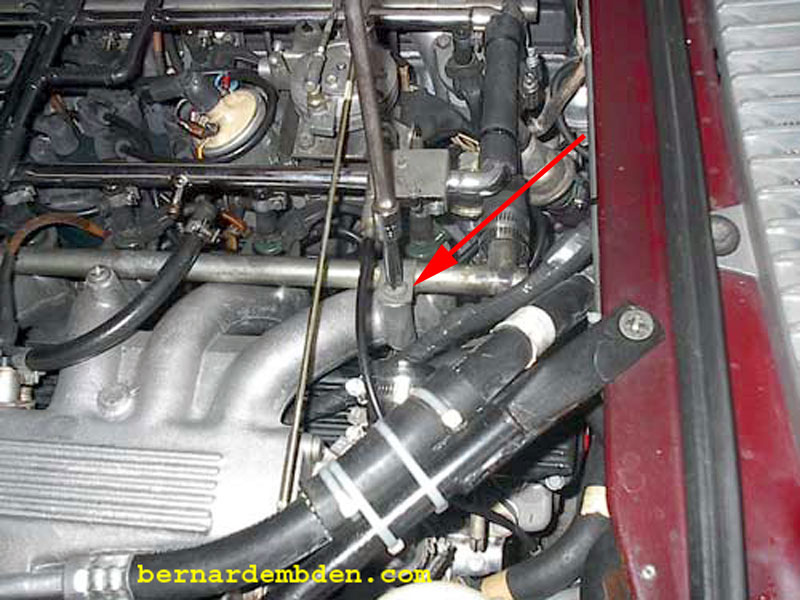
A universal swivel works best in removing the air rail hold down clamp nuts.
Once all the nuts and clamps (yellow arrow photograph below) have been removed, pull rail straight up and out to remove.
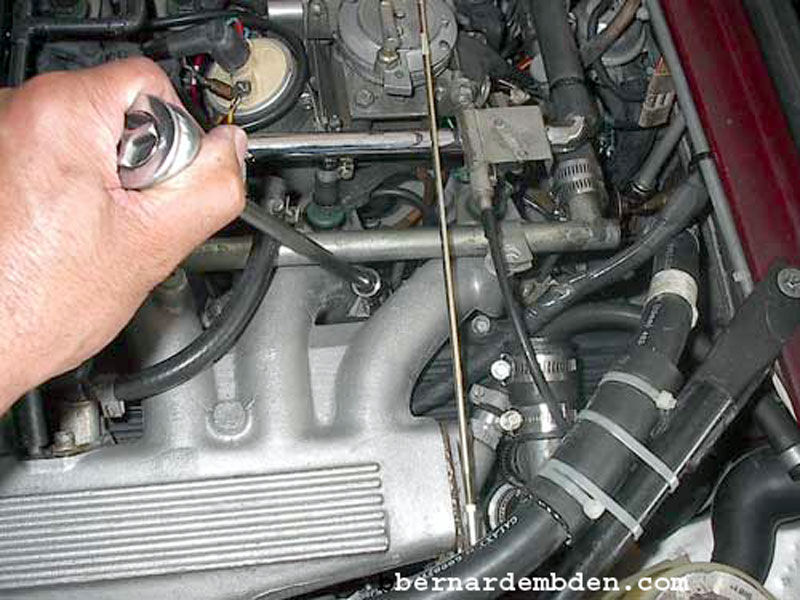
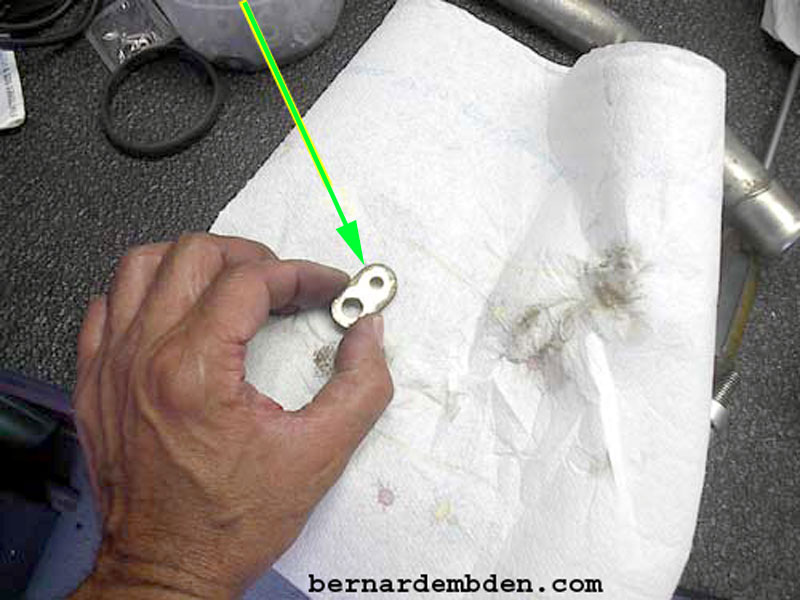
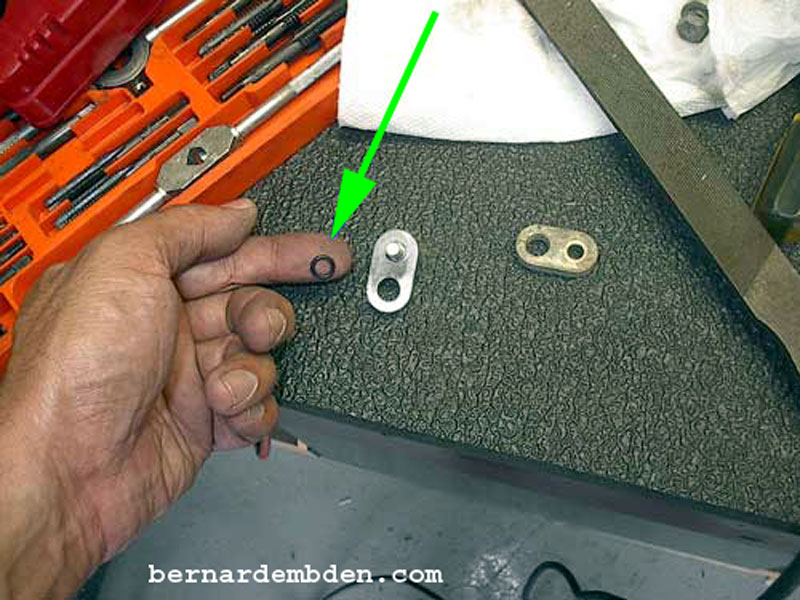
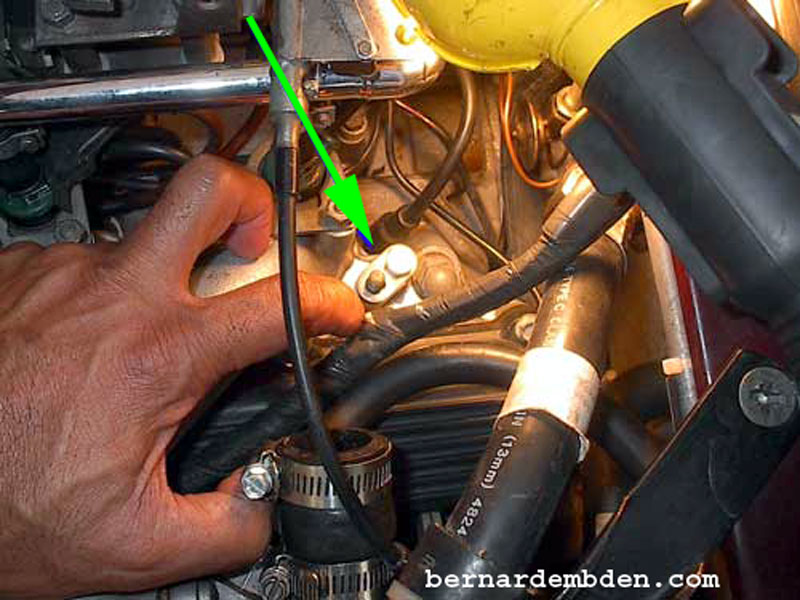
Make sure you remove any old "O" rings left in the intake manifold cavity (yellow arrow photograph below).
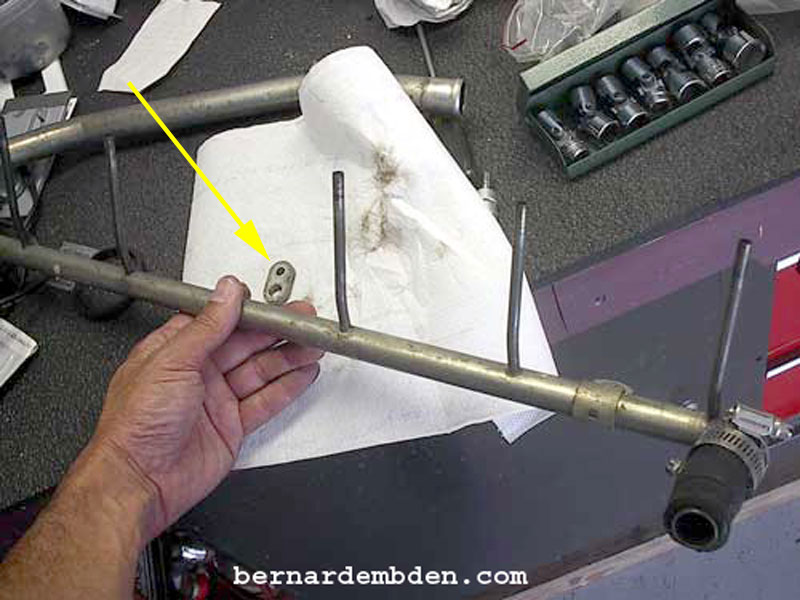
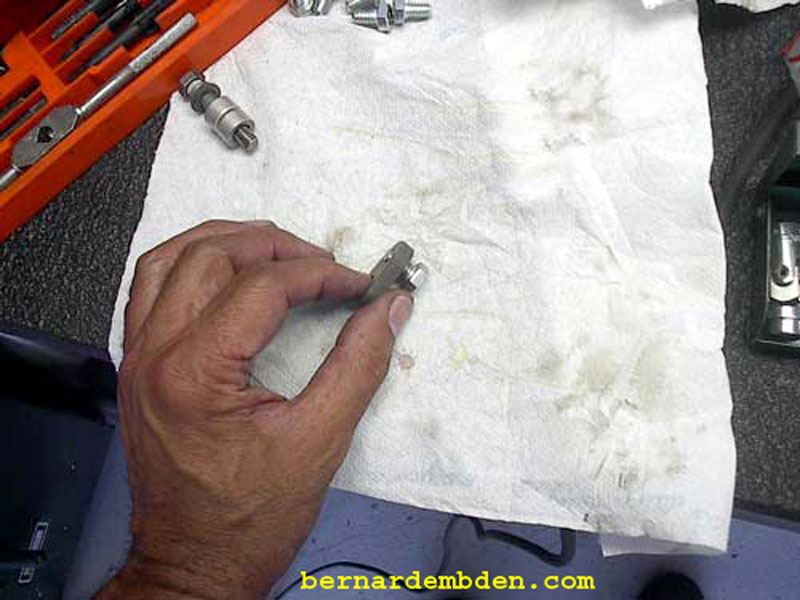
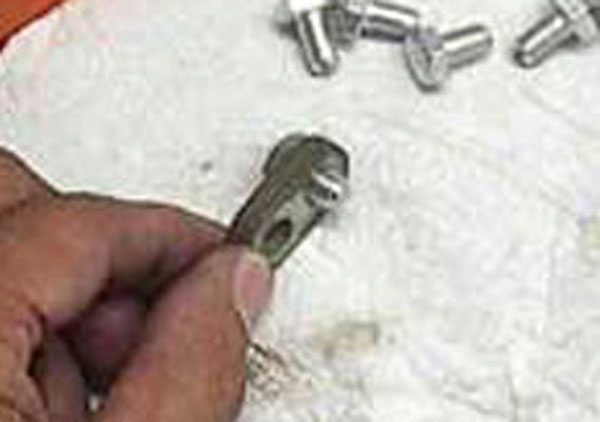
Pictured below is one of the twelve the "hold down" clamps that provides, along with two "O" rings, sealing of the air rail tube to the intake manifold. Note the small hole (green arrow) that secures the "O" rings to the manifold. The larger hole fits the stud on the intake manifold.
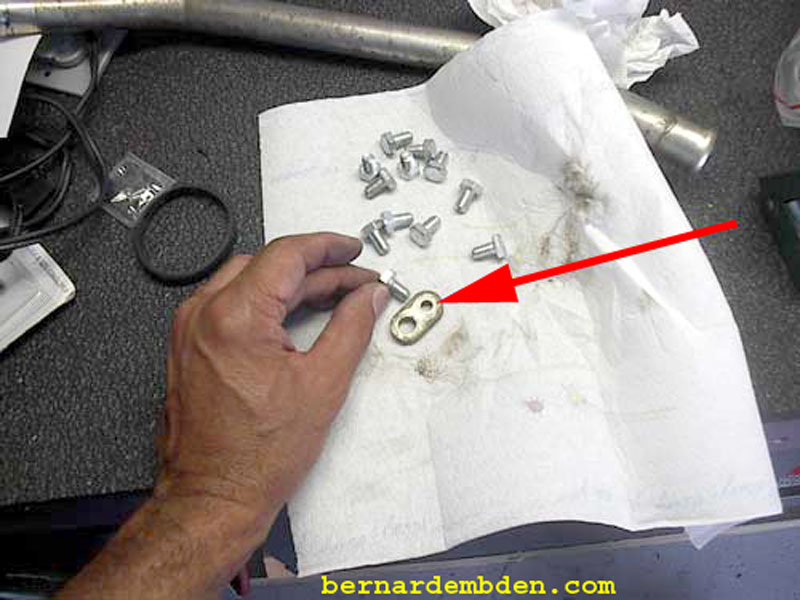
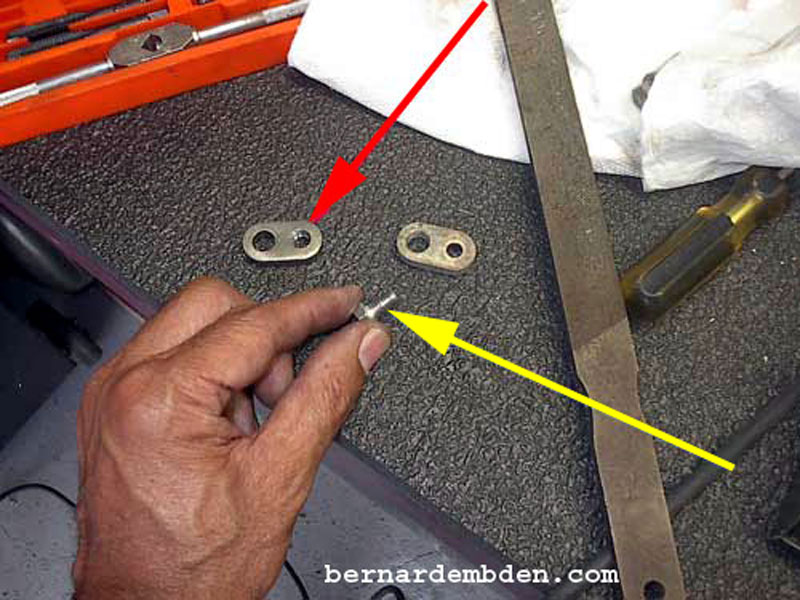
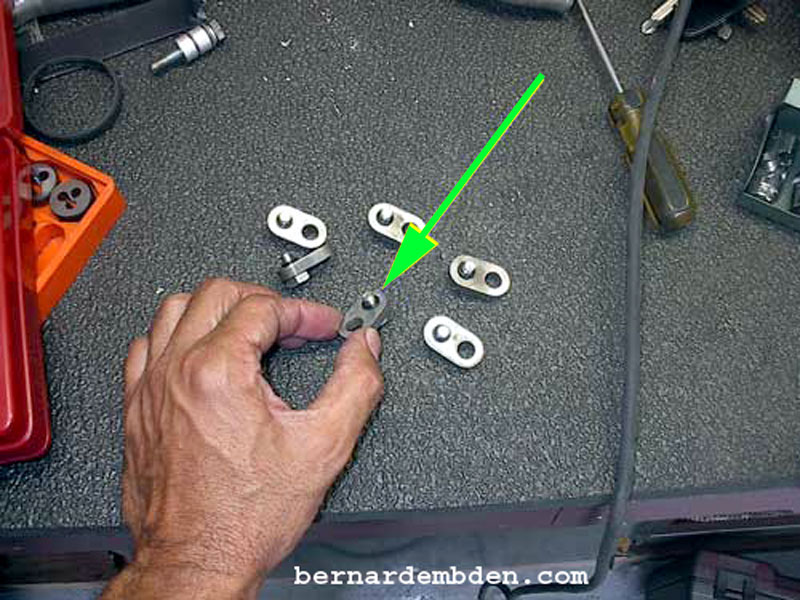
The objective was to fabricate inserts that would duplicate the air rail tubes as they enter the intake manifold. I started with twelve bolts 1/2 inch long, which were slightly larger than the small holes (red arrow photograph below) in the hold down clamps.
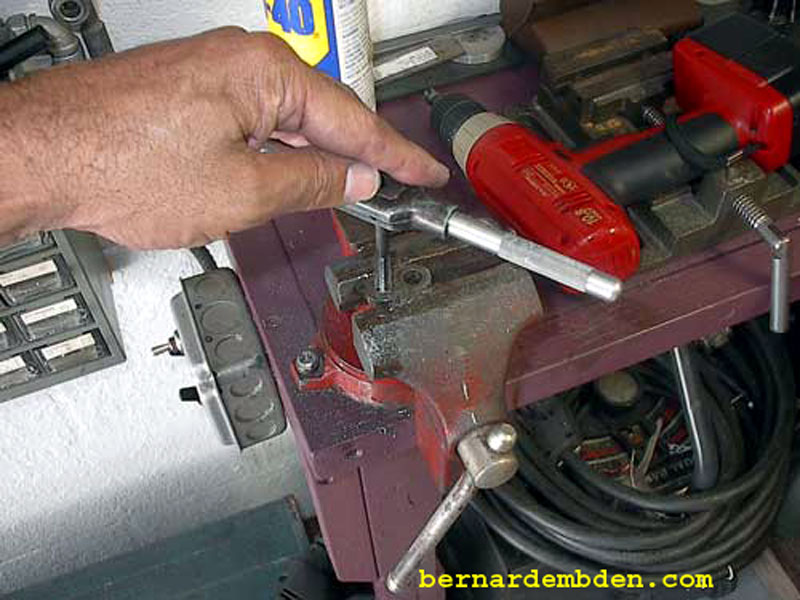
I used a grinding wheel to grind down the last 1/4-inch of the bolt thread. (the rest of the thread must remain untouched). The bolt must be rotated during this process to achieve the proper circumference. (red arrow photograph below).
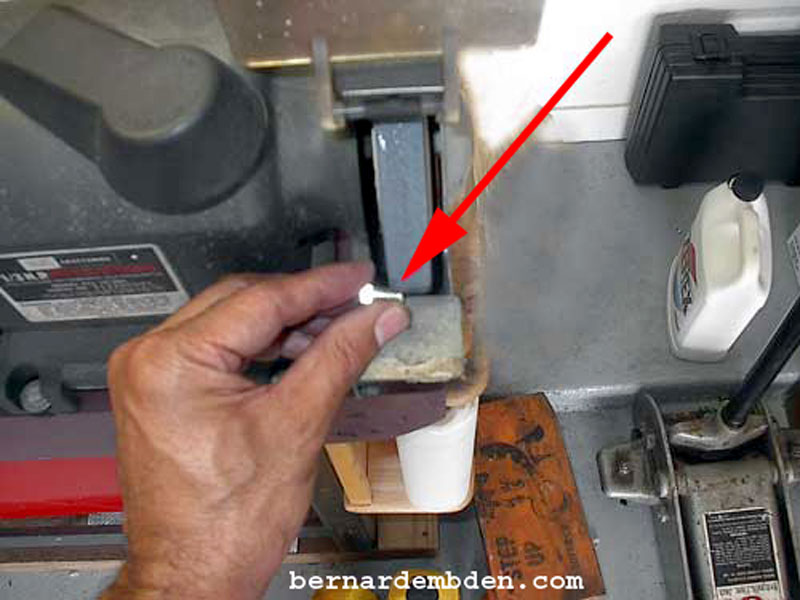
(Photographs below) Carefully continue the grinding process until the last 1/4-inch of the bolt (red arrow) will fit snugly inside the smaller hole of the hold down clamp (yellow arrow). The objective is to make the circumference of the bolt the same size as the air rail tube.
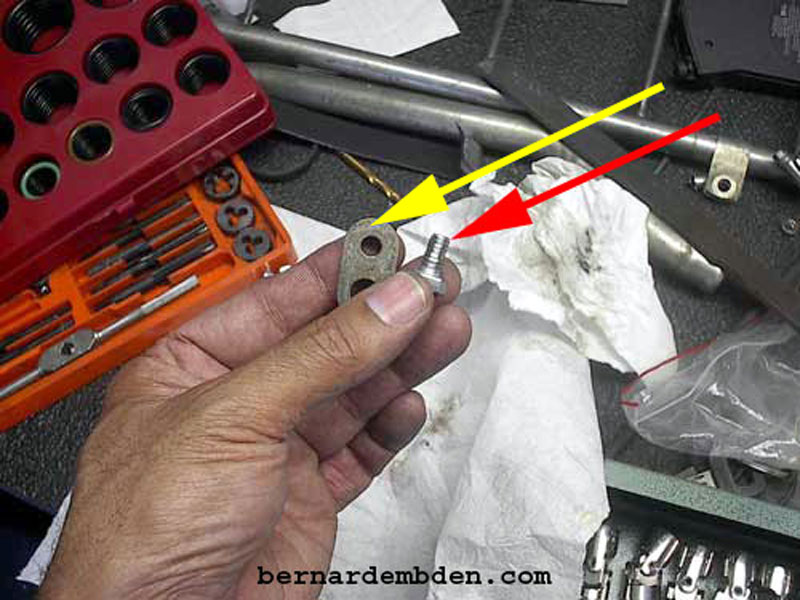
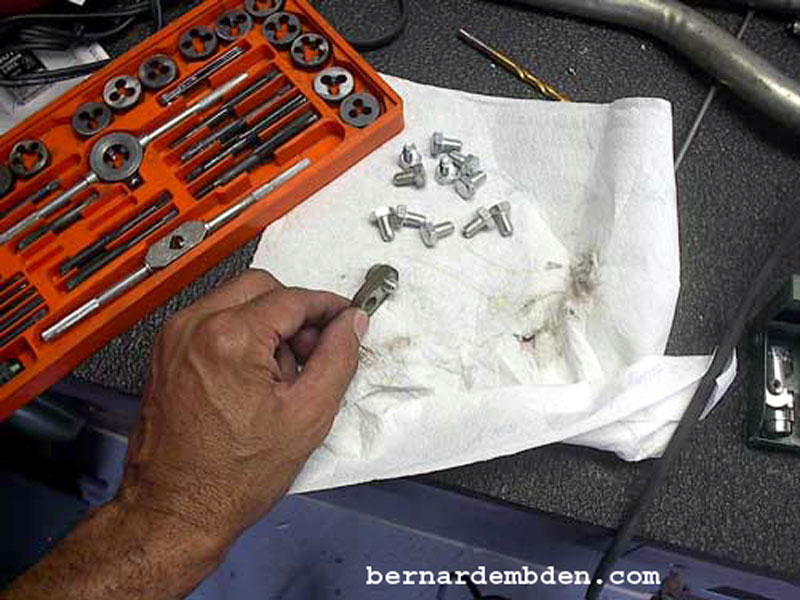
The next process was to tap and thread the small hole of the hold down clamp to accept the bolt. I used a 5/16 tap to accept the 5/16 bolt.
Use a reamer to clean up the entry and exit openings ensuring that the clamp has a perfectly flat surface.

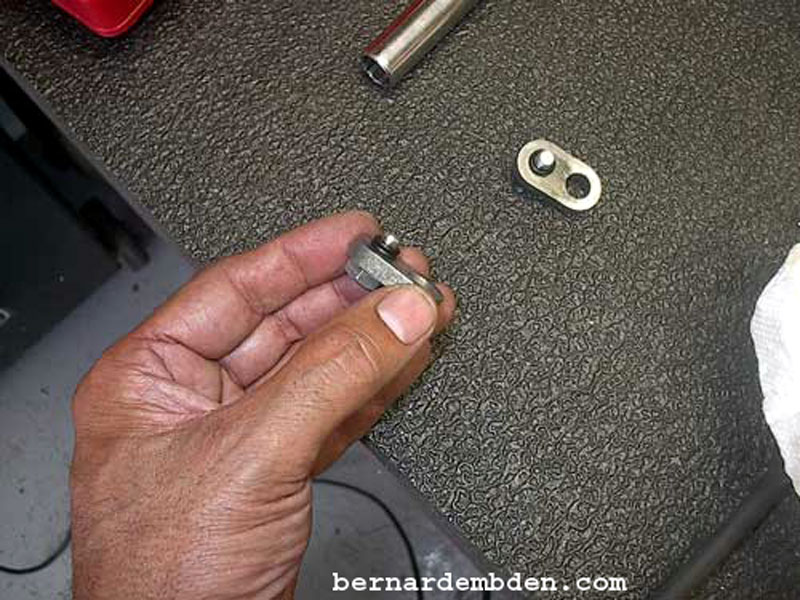
With the hold down clamp threaded (red arrow photograph below) and the bolt now suitably modified (yellow arrow) the bolt is screwed into the hold down clamp and tightened.
I used new "O" rings the same size as the originals. (green arrows photographs below). These are placed over the modified bolt.
Because of the "O" ring recess depth machined in the manifold two "O" rings are required for proper sealing. This is exactly as per the original air rail tube installation. Two new "O" rings are placed over the modified bolt. This essentially duplicates the air rail tube seal at the intake manifold.
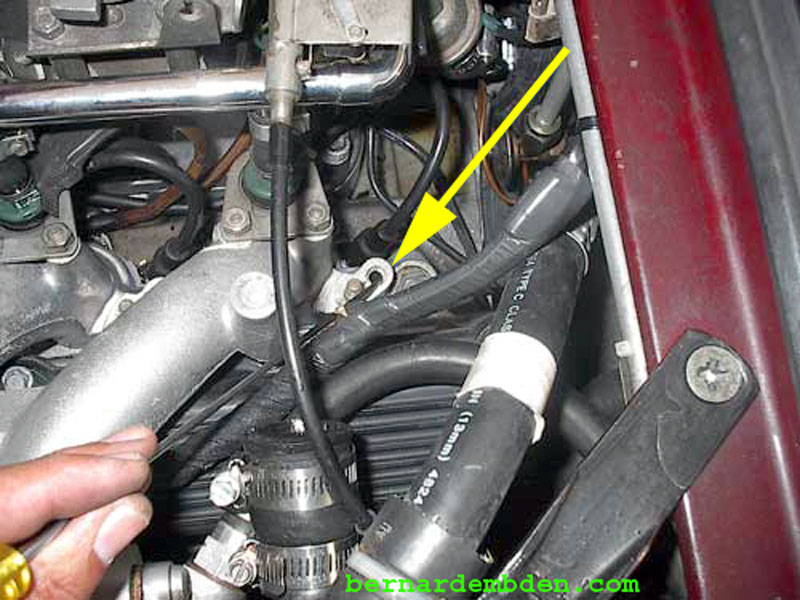
The modified clamp, bolt and "O" ring assembly is inverted and placed in the intake manifold opening. (green arrow photograph below) The large hole is installed in its proper location on the manifold stud.
The hold down clamp is tightened down with the original nut and washer.
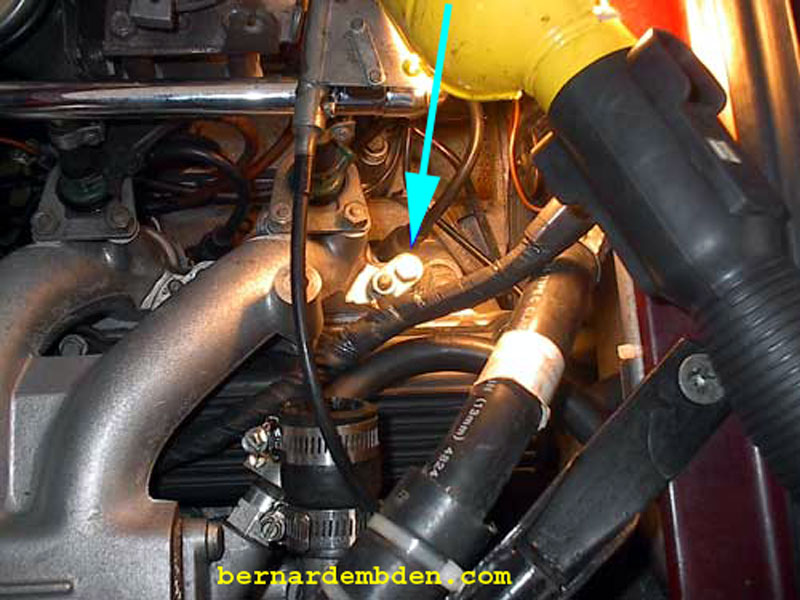
This essentially seals the intake manifold holes using the same methodology used on the original air rail tubes. (light blue arrow photograph below).
Duplicate the process eleven more times and you are done.

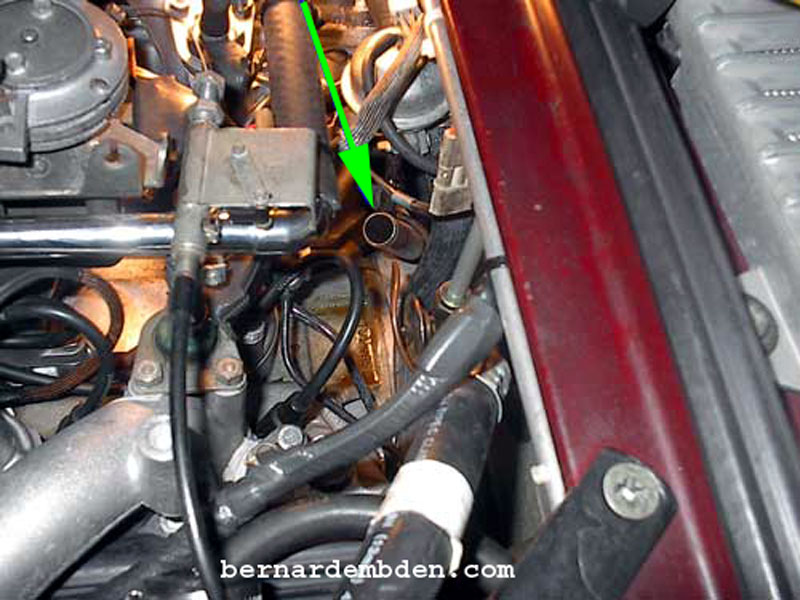
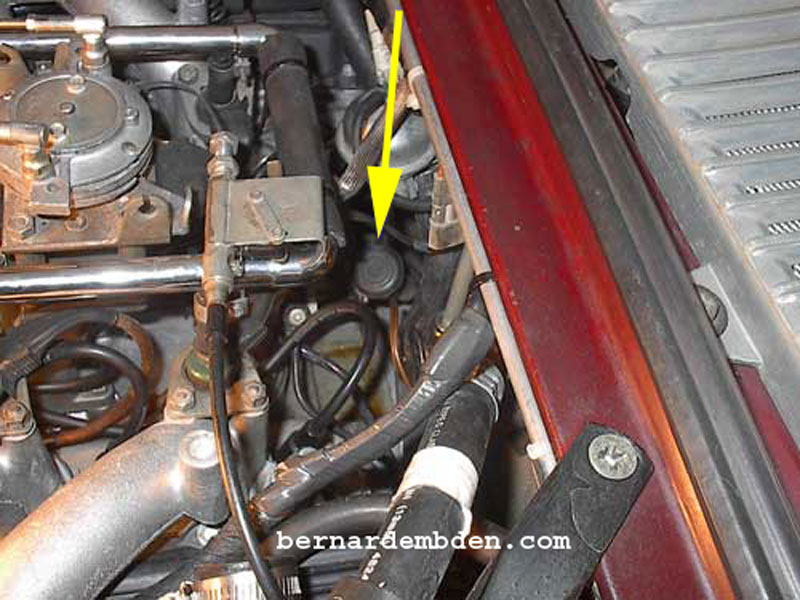
Just on GP, the pipe (green arrow photograph below) that feeds the air rail should be capped. Removing the pipe is almost impossible without removing the engine.
I used a clamp and a 1 inch vinyl cap designed for chair legs. (yellow arrow) Available at any Home Depot store.
Air Rail removal project complete.
This process, as was the objective, is completely reversible and was accomplished without any modifications to the intake manifolds.
