
A leak in my original A/C condenser required removal and repair or replacement. Air conditioning professionals agree that a parallel flow condenser, when used with R134, offers significant advantages over the original R12 designed unit. My concerns about not being able to get an exact size replacement seemed unwarranted when a 25 to 33 percent advantage was claimed for the parallel flow condenser. I then was in a unique position to test the advantage of upgrading to this new condenser. This project would also require the fabrication of new custom barrier A/C hoses.
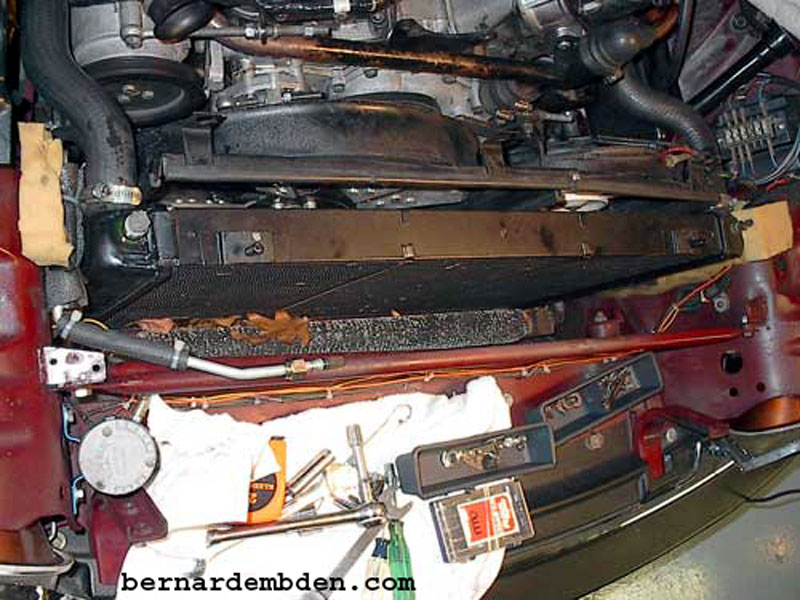
First remove the top radiator support and remove the old condenser. Now is the time to clean out the leaves and debris that invariable gets lodged between the condenser and radiator.
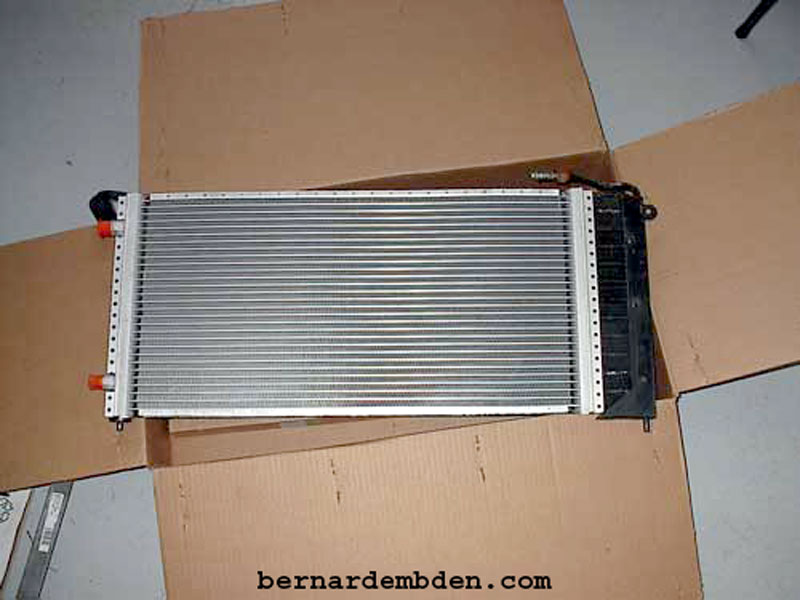
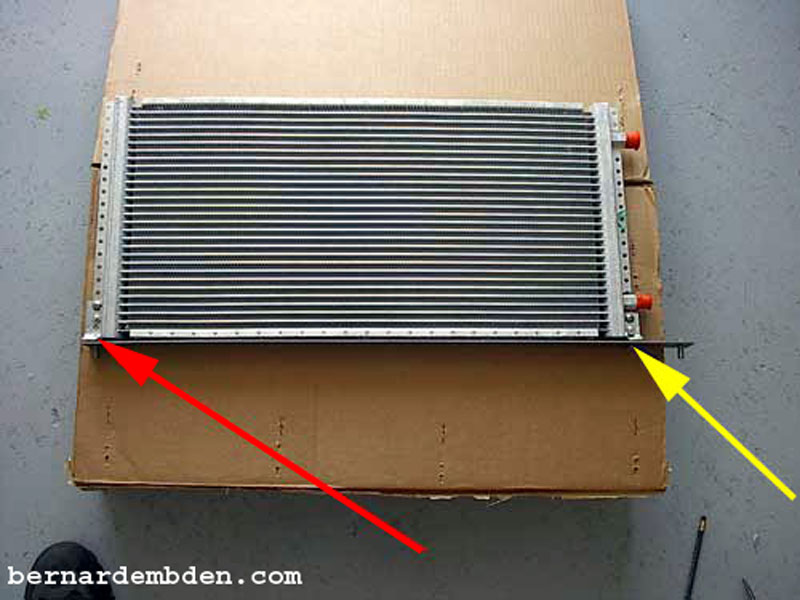
The parallel flow condenser I chose is model 12-0440C available from a number of A/C supply companies. This unit measures 12x26.5 inches (318 Square inches) was purchased from Arizona Mobile Air Inc."ackits.com", and cost $75.41 US dollars. I also ordered number 6 and 8 right angle fittings for the condenser. As you can see in the photograph below condenser is the same height, however somewhat shorter in width.
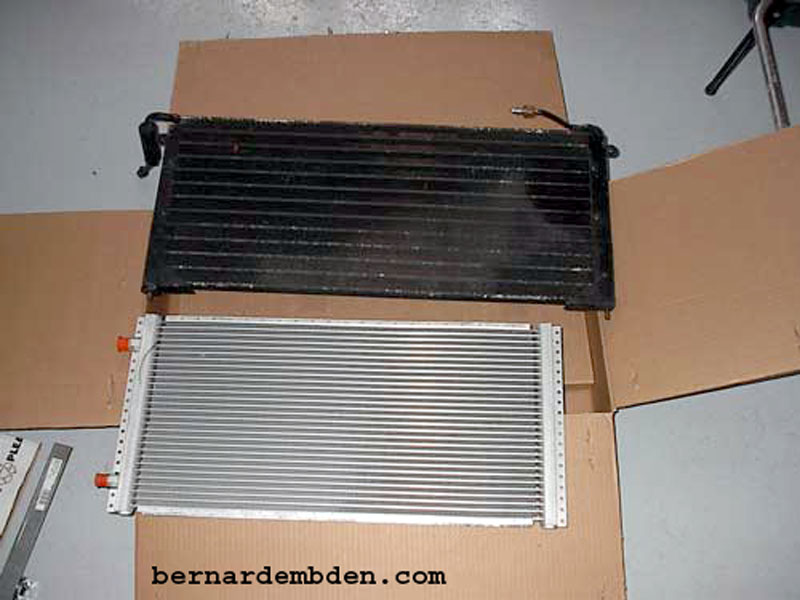
The original condenser measured 12x28 inches, (336 square inches). The new condenser is 12x26.5 inches, (318 square inches). If the manufacturer's claims are accurate, the difference is more than made up with the higher efficiency of the parallel condenser.
If you are only interested in installing the parallel flow condenser and having a A/C shop do the rest of the work then you might want to look at Ed Sowell's web page. (http://home.adelphia.net/~sowelled/ed/myJag.html),
However, if you are a control freak, have three to five days with nothing to do, need to fabricate and install every bolt and clamp, must decide the location and route of every hose, and the end product must not only work properly, but must look good, then this project is for you.
Because the new condenser is narrower than the original I decided not to mount it in the middle of the grill opening. I mounted the condenser flush with the right side of the radiator, where the large fan would provide the most airflow.
Note: Right and left sides are determined from the driver's position in the car.
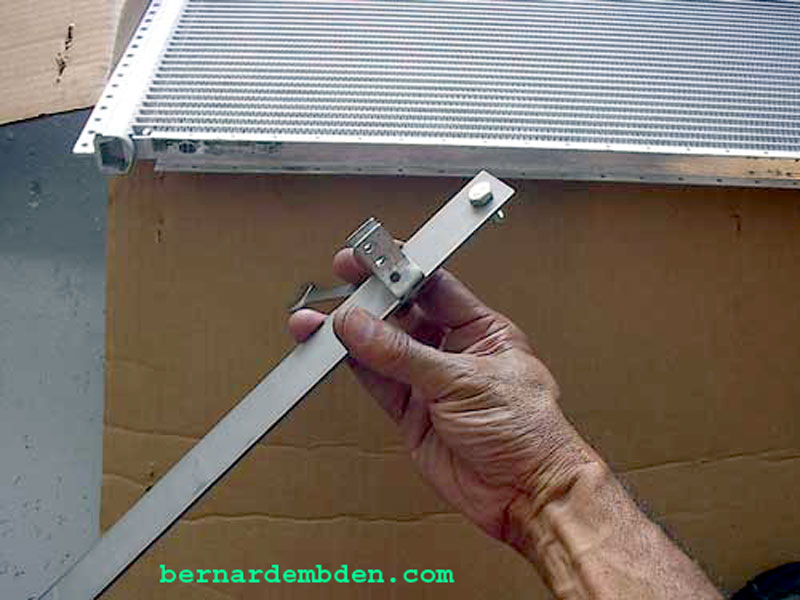
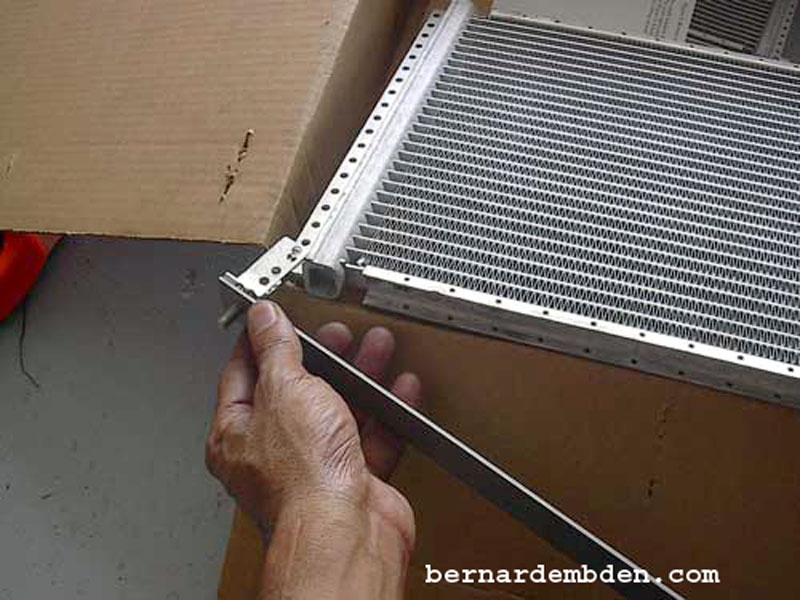
This meant the fittings would be on the left side. A length of flat metal stock, 1"x36" was purchased. The old condenser was used to measure and mark the locating pins.
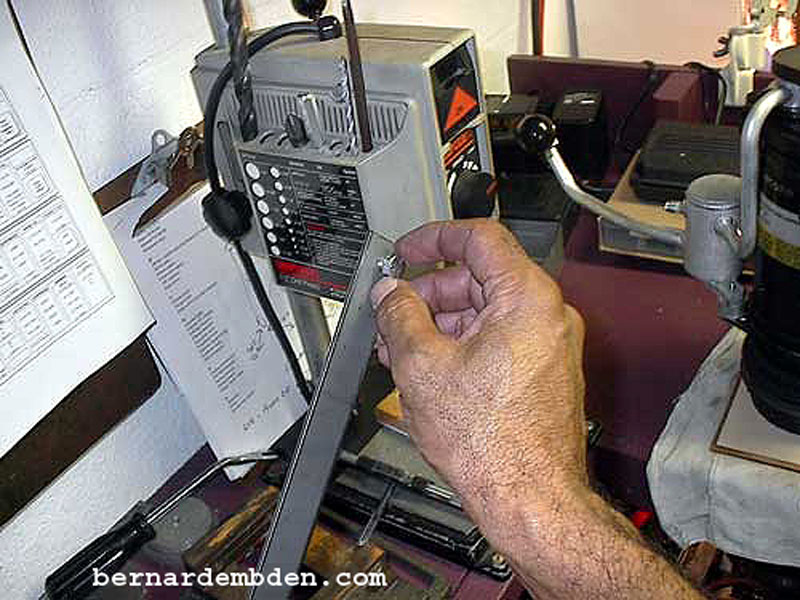
Drill and tap the metal stock at the pin locations.

Screw in a bolt of the same size as the original location pin. These bolts will now function as the new locating pins.
I fabricated modified "U" brackets that attach to the mounting plate. (photograph below). Simple "L" brackets would have worked, but I wanted the condenser centered in the mounting plate. The bracket is installed to the mounting plate off center because the condenser will be installed flush right in front of the radiator.
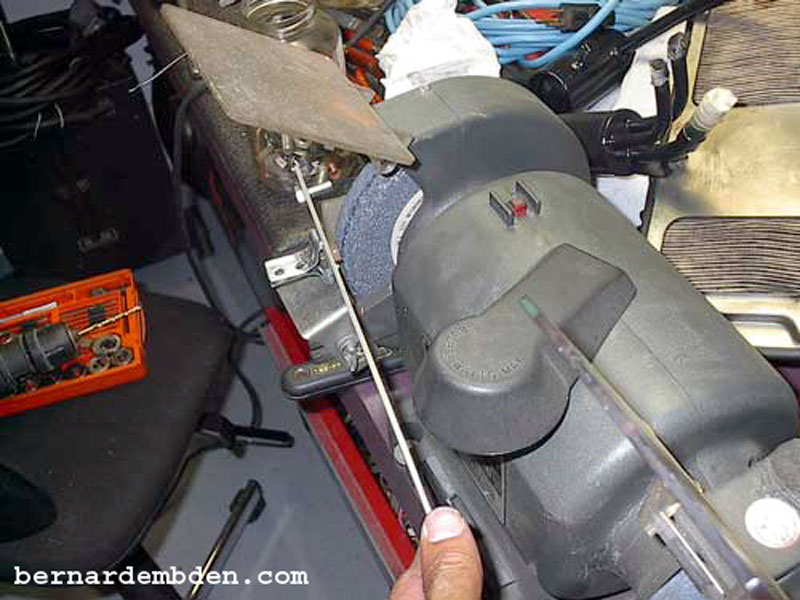
There is very little clearance between the mounting bracket and the oil cooler it locates to. To provide adequate clearance, I used my grinding wheel to grind this bolt head down.
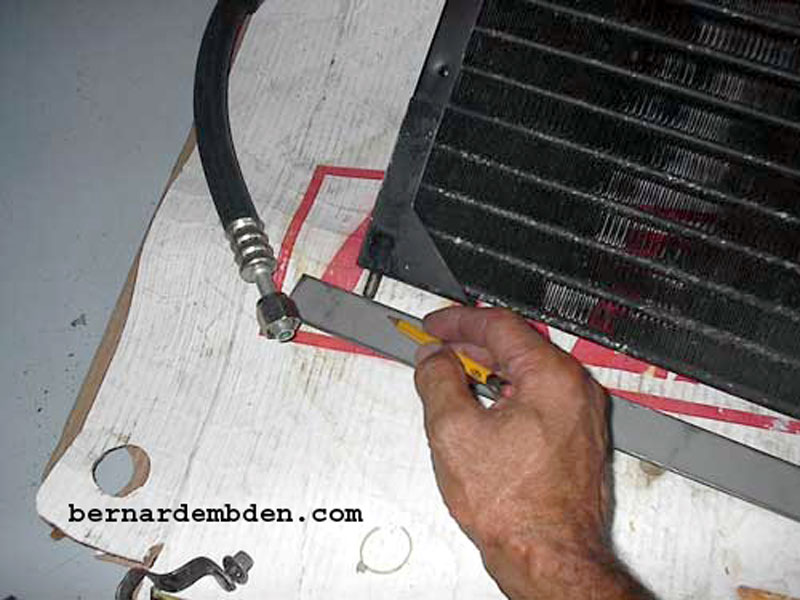
(Photographs below) Attach fabricated brackets to parallel flow condenser.
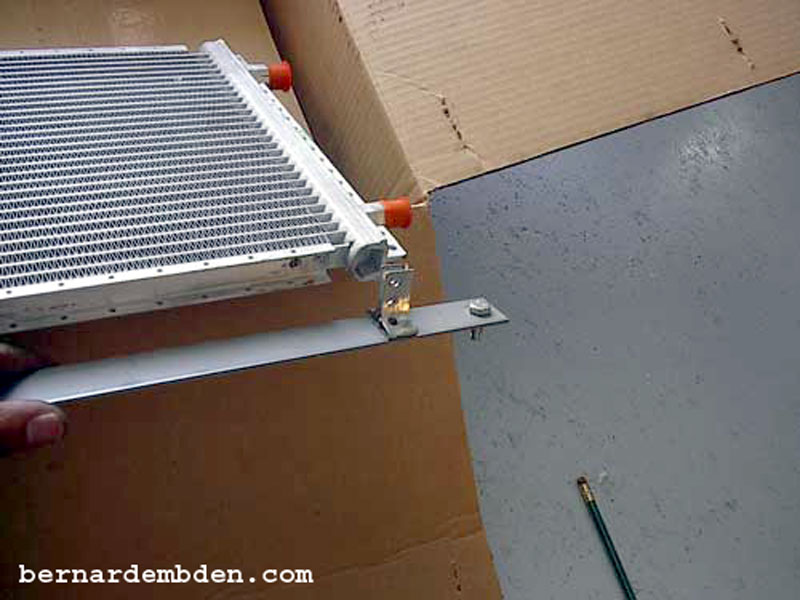
Using nuts and bolts attach and tighten screws.
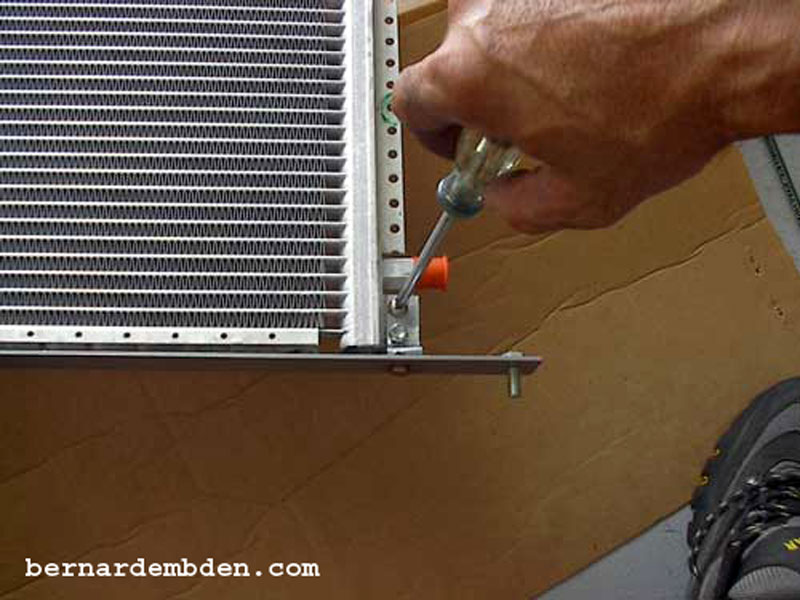
Bottom bracket completed. Note the offset to one side. This is by design. The top of the bolt (red arrow photograph below) must be ground down to allow the condenser to lie flat against the mounting bracket. The other bolt (yellow arrow) must be ground down to provide adequate clearance between the mounting flange and oil cooler.
The new condenser required new hoses to be fabricated. Going to the usual A/C shops was futile. Either they were unable or unwilling to fabricate these hoses or they wanted me to bring the car and have them fabricate and install the hoses.
A hose manufacturer finally said that the only shop that could help me was "Marks Air Inc.". They are an A/C only business and are located on Bowles Rd in Tampa. (www.marksair.com.) I walked into the shop and was pleasantly surprised. This was exactly the shop that I was looking for. The various pieces of hose connections and ends I had were not a problem. The "U" shaped number 8 fitting that I needed was in stock. The fuel cooler attached to the low-pressure fitting did not present a dilemma. The staff actually understood what I wanted. And yes, I could wait while their technician fabricated the hoses as per my notes and drawings. Finally, their prices were extremely reasonable. Understandably, I was not allowed into the shop, but "Caroline" at the front office volunteered to take the following pictures.
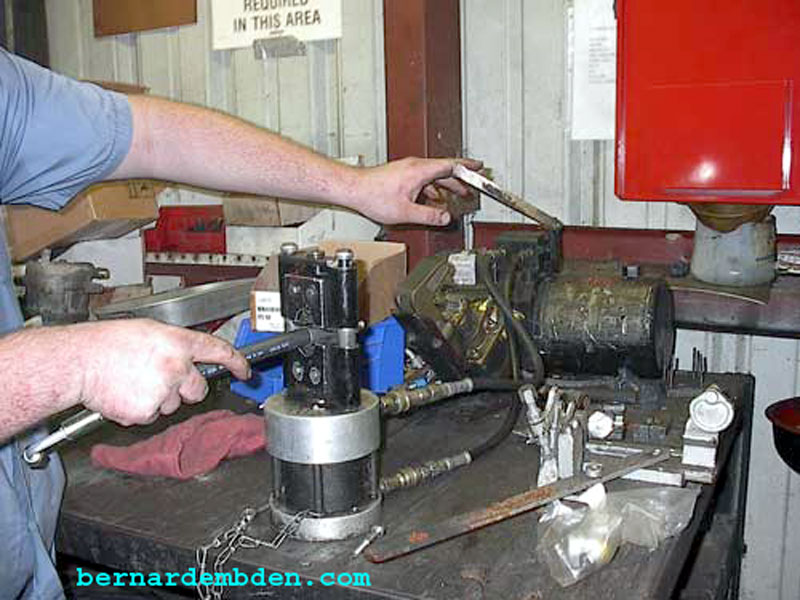
A special small compression jig is needed to crimp the hose on the original compressor connection with the fuel cooler.
The other hoses use a conventional hose compression fitting device.
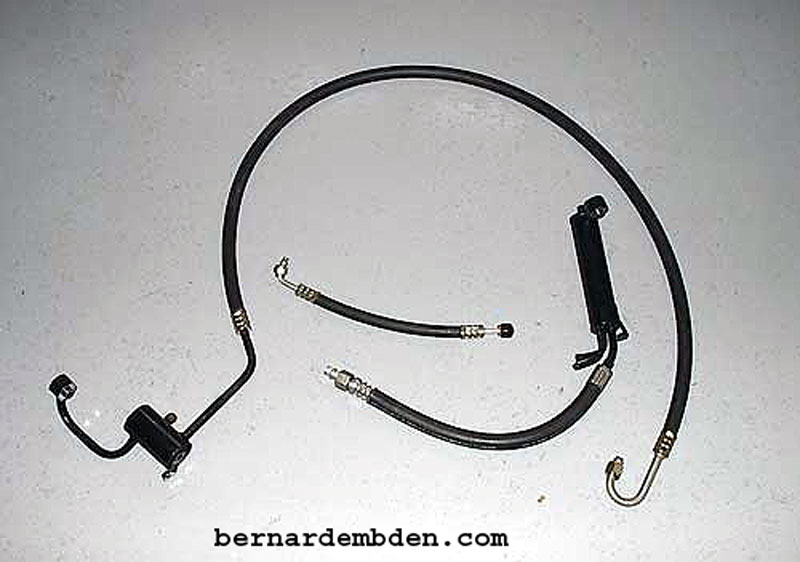
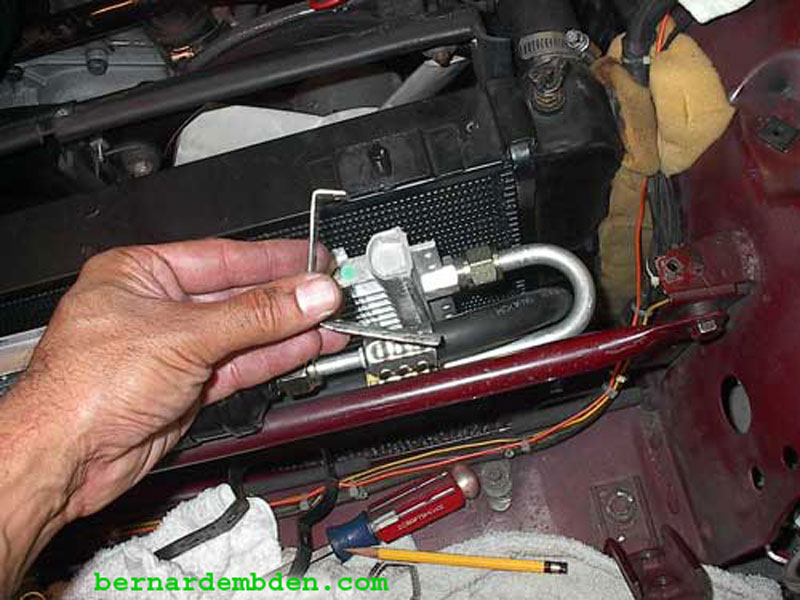
(Photograph below) Based on my requirements, Marks Air Inc. fabricated a total of four hoses. The long hose is 64 inches, terminating in a "U" shaped number 8 fitting. The short hose will connect the original drier to the lower number 6 fitting on the parallel condenser. I could have used the original low pressure fitting from by A/C rebuild, but that aluminum fitting would not have matched. I used the original (with integrated fuel cooler) fitting instead.
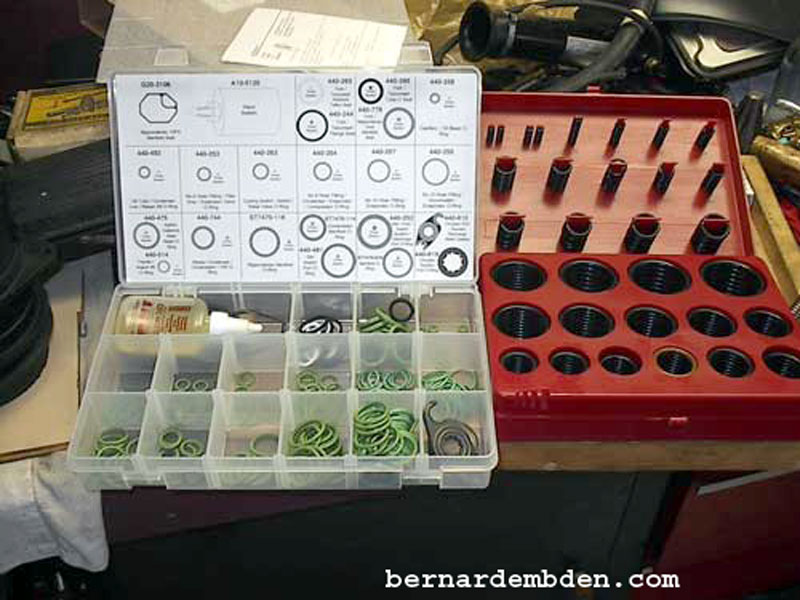
Black generic "O" rings should never be used with AC systems. Air conditioning equipment requires special "O" rings. A project of this size will have you looking for various size "O" rings all the time. I bought a universal A/C "O" ring kit from acsource. (acsource.com)
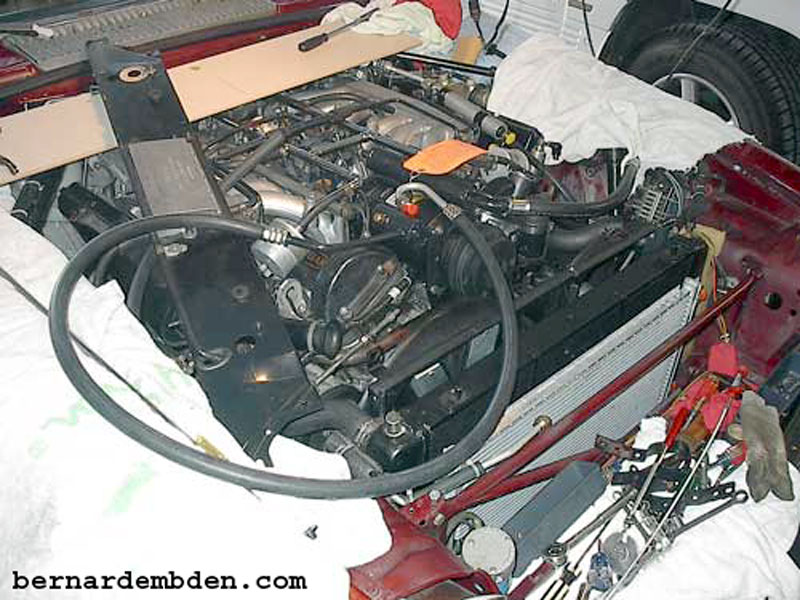
Photographed below. A/C fittings with hoses attached to compressor. The high pressure hose (64 inches) will require routing across the new condenser.
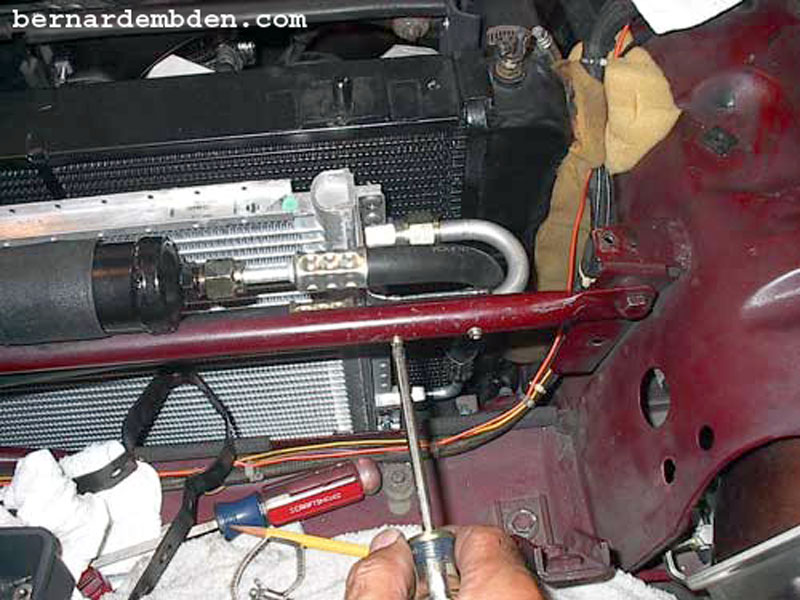
The connections are on the left side of the radiator opening. This presented somewhat of a challenge. The "U" shaped fitting (green arrow photograph below) enabled me to route the hose along the support bar that supports the drier.
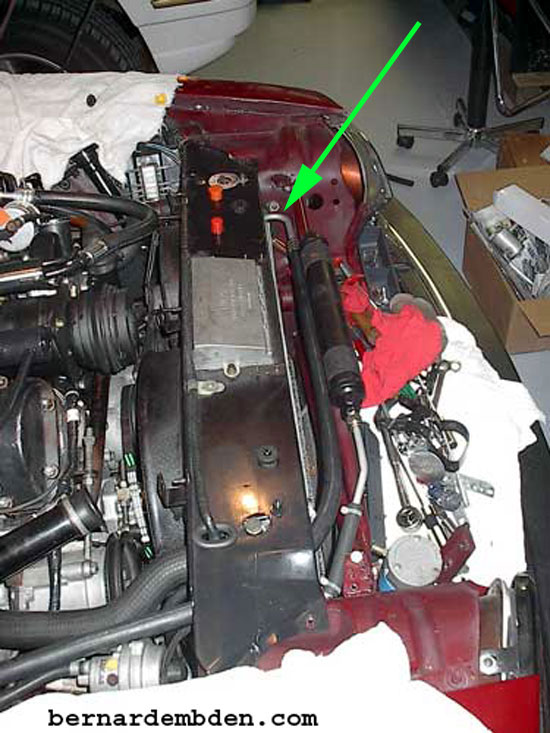
Do not fabricate brackets until the hose routing is finalized. I removed the condenser brackets from the top radiator support. They are a PIA. The new brackets will bolt to the fender supports. Note the slight "U" in the right bracket. This will allow room for the high pressure hose.
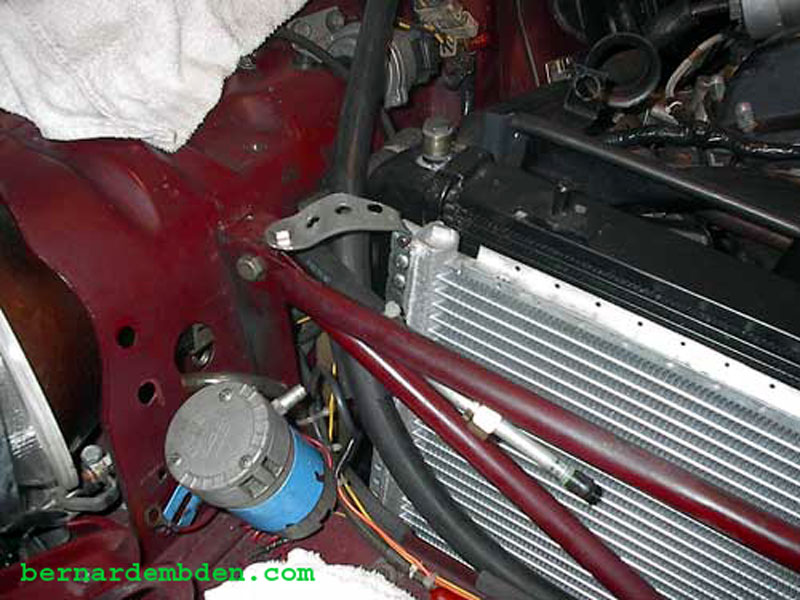
Photograph below. Right bracket bolted to the parallel flow condenser and fender support
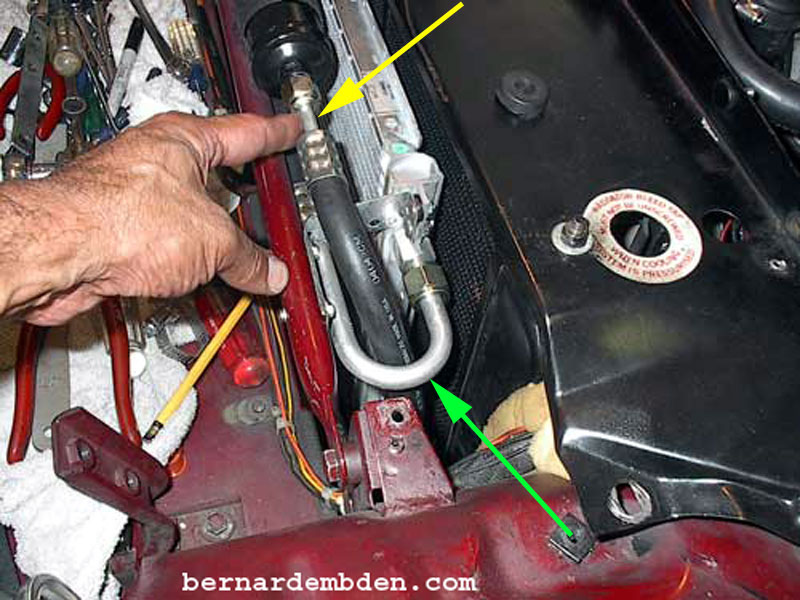
The A/C high pressure hose protected with a split heater hose. (yellow arrow photograph below).
Because the new condenser is narrower that the original, the left mounting bracket could not be attached to the left fender support. The radiator opening brace was removed and holes drilled for a mounting bracket.

The fabricated mounting bracket (photographed below) will now bolt to the radiator opening brace using the drilled holes in above photograph.
Use two screws to attach bracket to condenser support and radiator opening brace.
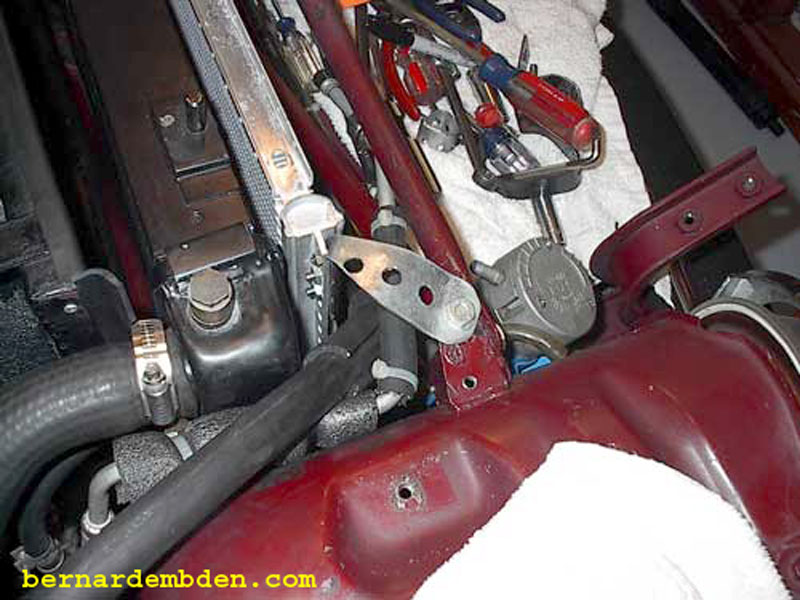
Left bracket completed. Make sure it clears the A/C lines. Note short hose from lower condenser fitting to drier (yellow arrow photograph below) and "U" shaped number 8 fitting (green arrow) to upper connection on condenser.
The large fitting on the condenser is the inlet and should be on top. The smaller fitting (exit) should be on the bottom.
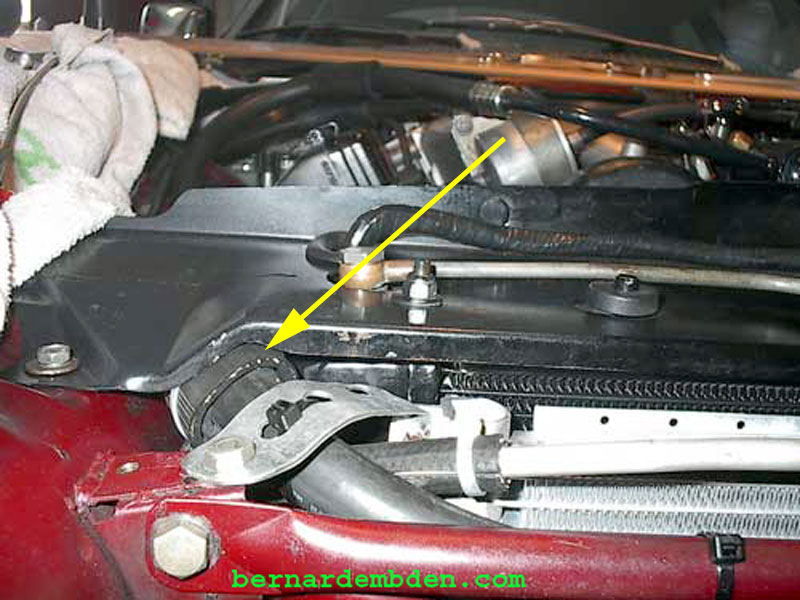
Initially, I did not want any A/C lines running across the radiator. However, with this condenser both connections are on one side, so it was impossible, if the stock drier was maintained, not to have one line across the radiator. I designed the hose routing so that line could be routed along the existing radiator opening support brace. (yellow arrows photograph below).

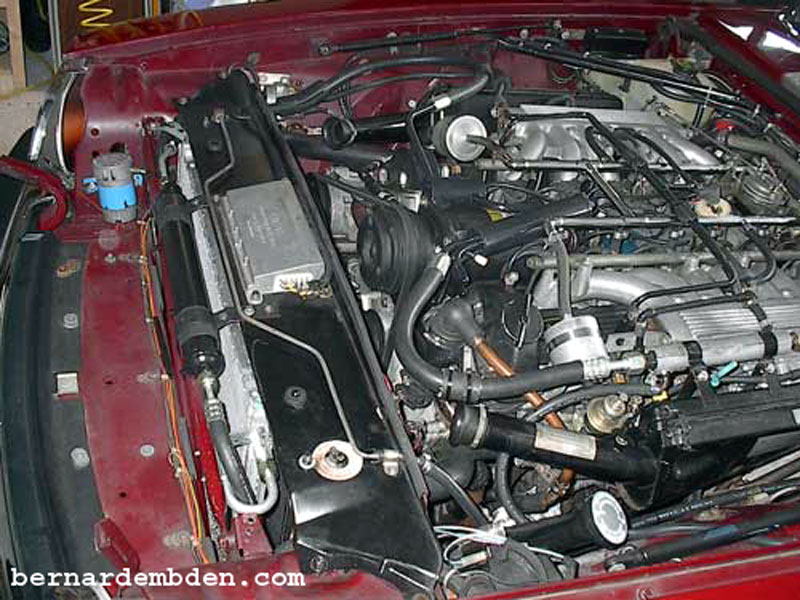
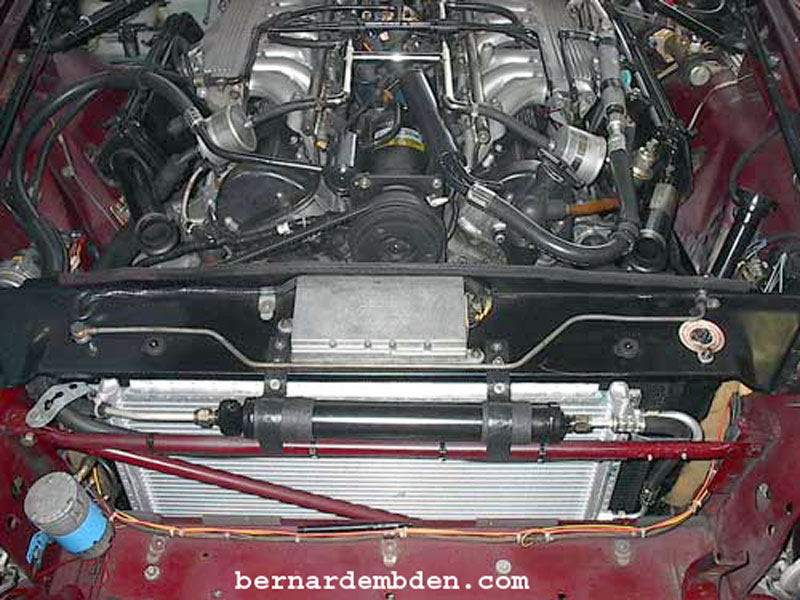
Project complete. Protect all hoses as they pass through or by supports.
Using the same A/C shop as before, I recharged the system with R134. With the only change being the installation of this parallel flow condenser the vent temperature was 5 to 6 degrees cooler.
My recommendations.
If you are converting to R134, you live in a temperate climate, and the original condenser is OK then changing to a parallel flow condenser might not be worth the effort.
However, if you are converting to R134 and the condenser is defective or you live in a hot climate, then changing to a parallel flow condenser is highly recommended.
