
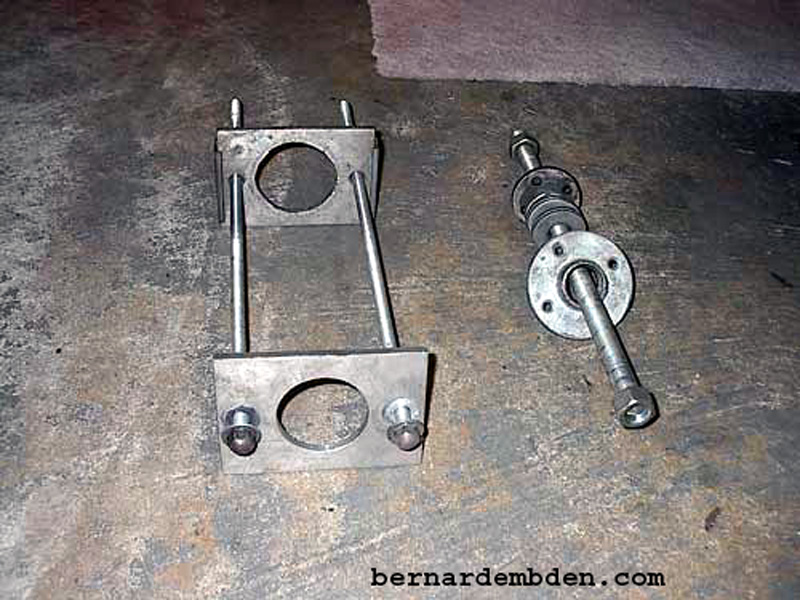
Photographed below are my front and rear spring compressors. The front spring compressor is a threaded rod (3/4 inch diameter, 16 inches long) available from any good hardware store. I also included several large flat washers, nuts and a piece if 1 1/2 inch pipe cut at an angle. This angle cut allows me to install the spring support at the proper angle.
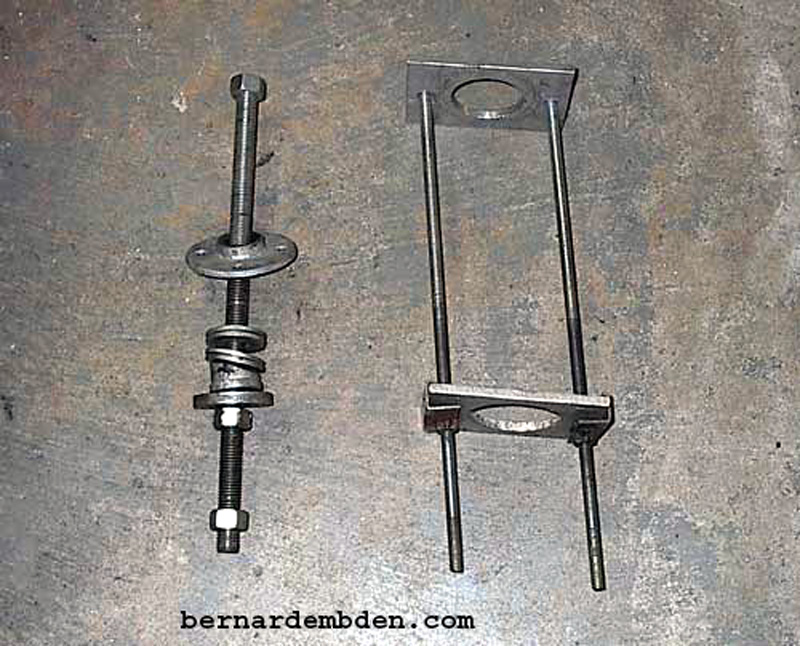
The rear spring compressor consists of two pieces of 1/4 inch aluminum stock (modified with 3 inch openings) to fit over the rear spring supports) and two threaded rods with nuts welded to one end. The rods are 7/16 diameter, 18 inches long. There are two pieces of sheet metal that supports the top of the tool to add strength to the aluminum stock. The flat washers at the bottom of the tool prevent the welded nuts from galling the aluminum. Once this compressor is attached to the rear springs, an air tool with the appropriate socket alternately applied to the welded nuts compresses the spring and makes removal a snap.
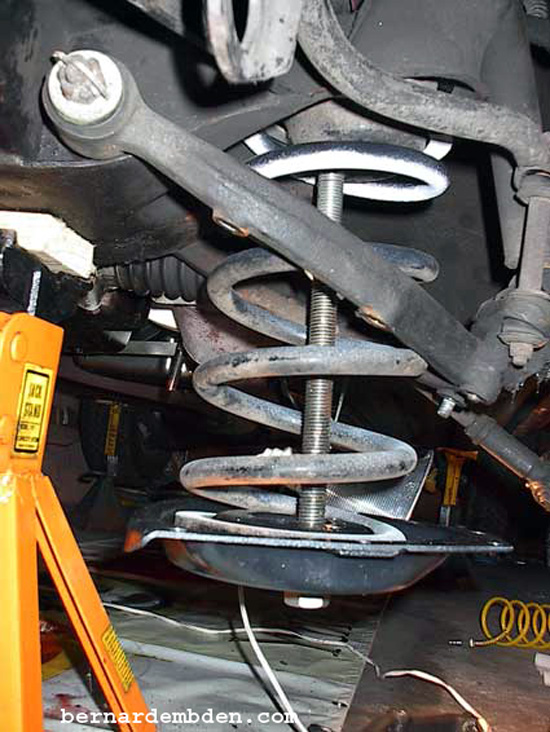
To remove the front coil spring, the threaded rod is placed through the center of the spring. A nut and washer is applied to the top end of the rod. Flat washers, the angle cut and nuts are placed on the end of the rod. Turn nut until bottom assembly is flush to spring support.
This is important: Attach vice grips to prevents the rod from turning. The rod must not turn while turning the nut in either direction. (green arrow photograph below).
Tighten nut until pressure is relieved from the spring support. Remove bolts that secure spring support to lower control arm. I then attached two long bolts through the spring support into the lower control arm. This provided some margin of safety while I released the tension on the spring.

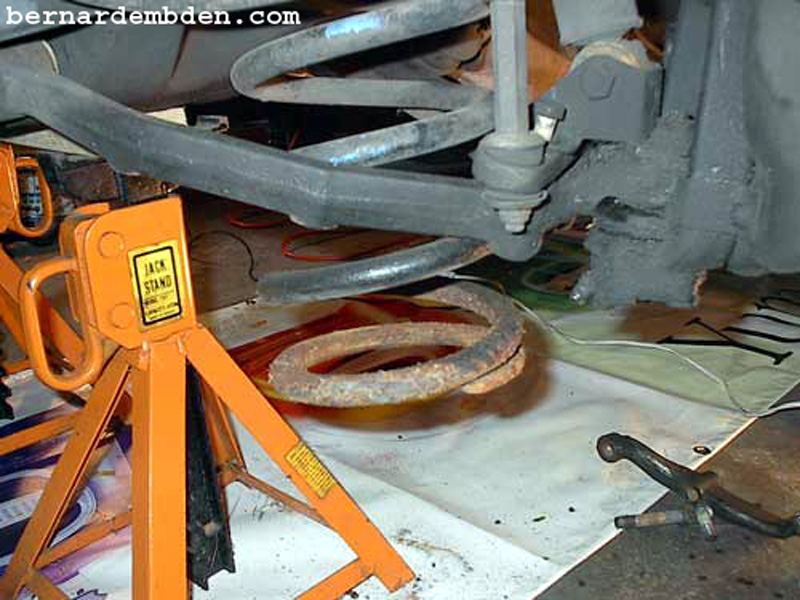
(Photographs below) Once the lower spring support was removed, rust was evident on the lower coil of the front spring.
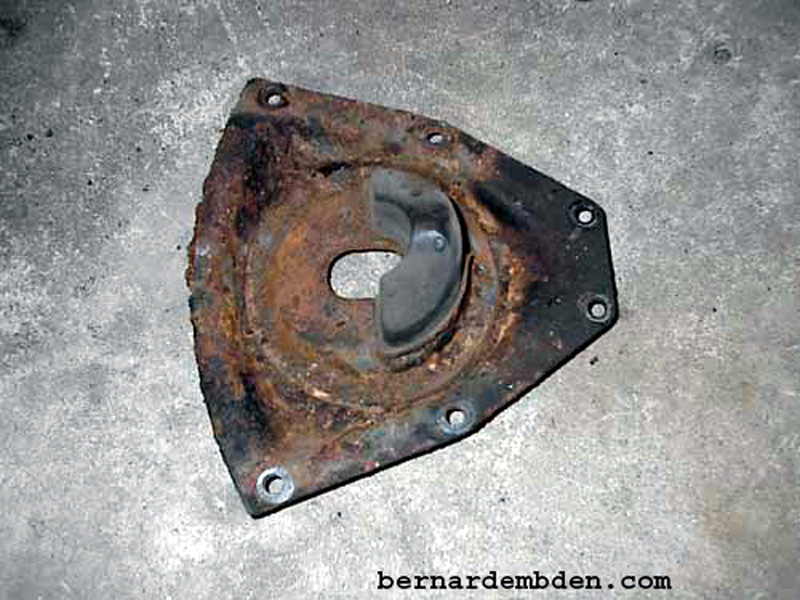
Rust had also attacked the lower spring support.
After removing the rust down to metal, spring and support were primed and painted.
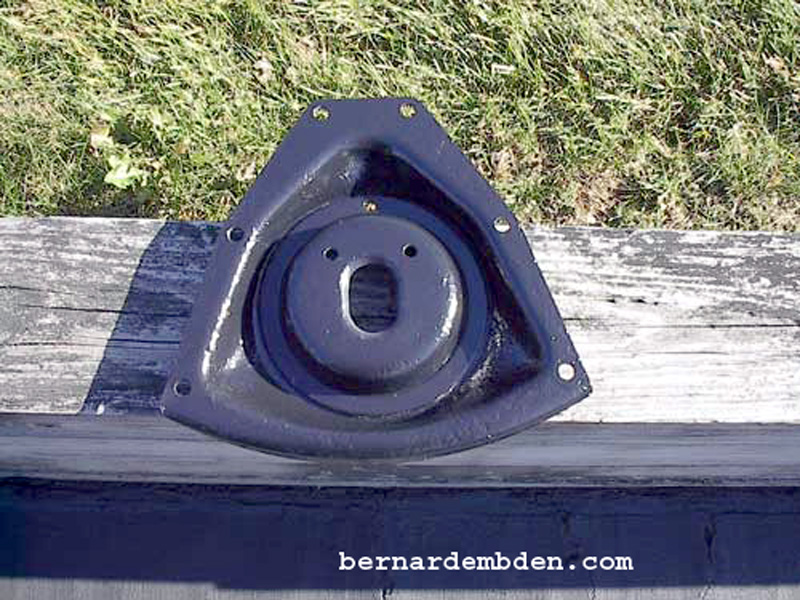
Install spring support as photographed below.
(Photograph below) Tighten until you can install guide bolts through the spring support into the lower control arm. (green arrow). Notice vice grips on rod to prevent it from rotating. (yellow arrow). You do not want this bad boy unscrewing from the top nut while under pressure from the spring. (I did not use my angle device on the spring plate bottom for these photographs).
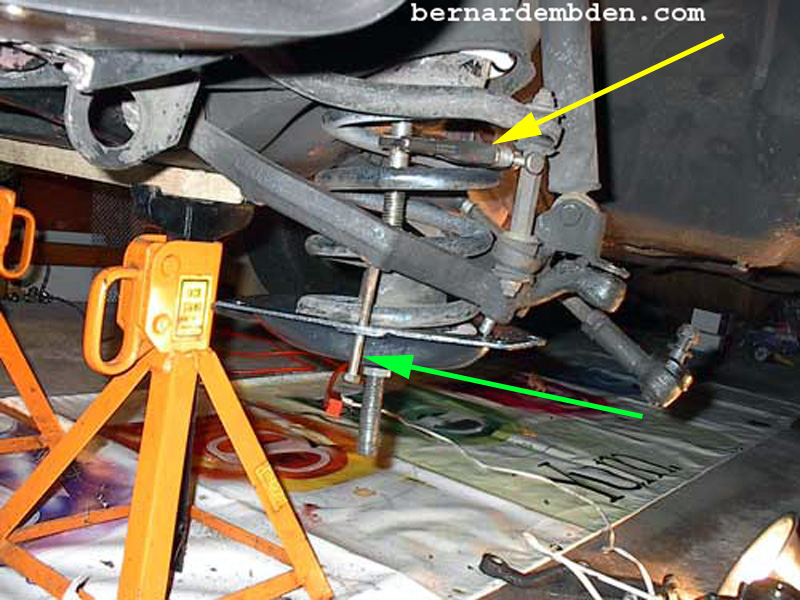
Once spring is close to lower control arm position so the spring support bolts can be installed. Use two bolts as guides to get spring support in proper location. Tighten compressor until spring support is snug against lower control arm. Install all bolts and tighten to lower control arm before removing threaded rod from spring.
I am not advising anyone to use this method of spring compression. Use this method at your own risk. Serious injury or death can occur if compressed spring releases from compressor.
