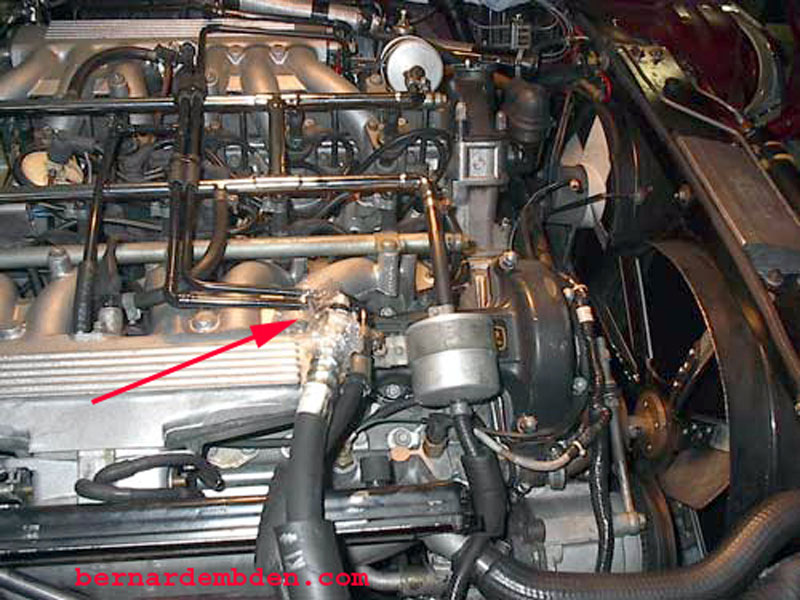
The rear "O" rings of the GM A-6 compressor are prone to leakage. In addition, R134 working pressures are higher than R12. After rebuilding the A/C system and converting to R134, I developed a leak at the high side of the A-6 compressor "O" ring connection.
I decided to examine these connections and devise a leak proof solution.
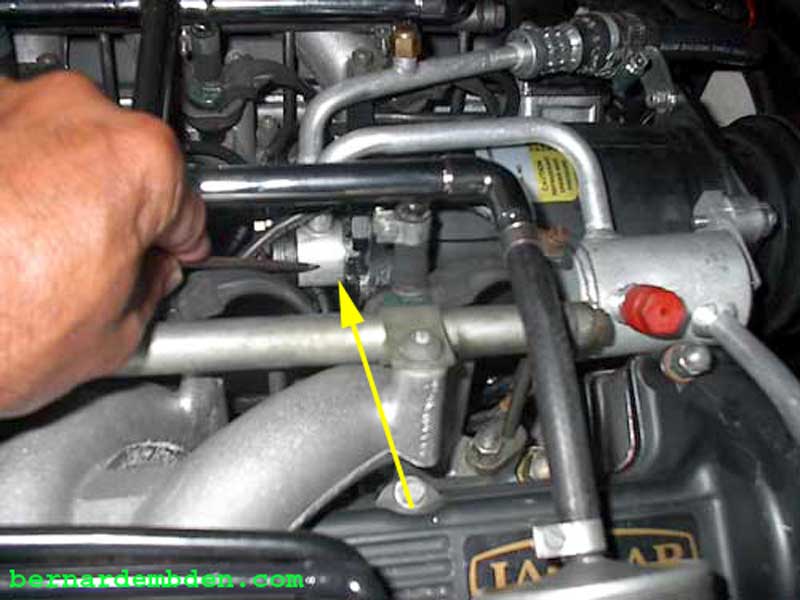
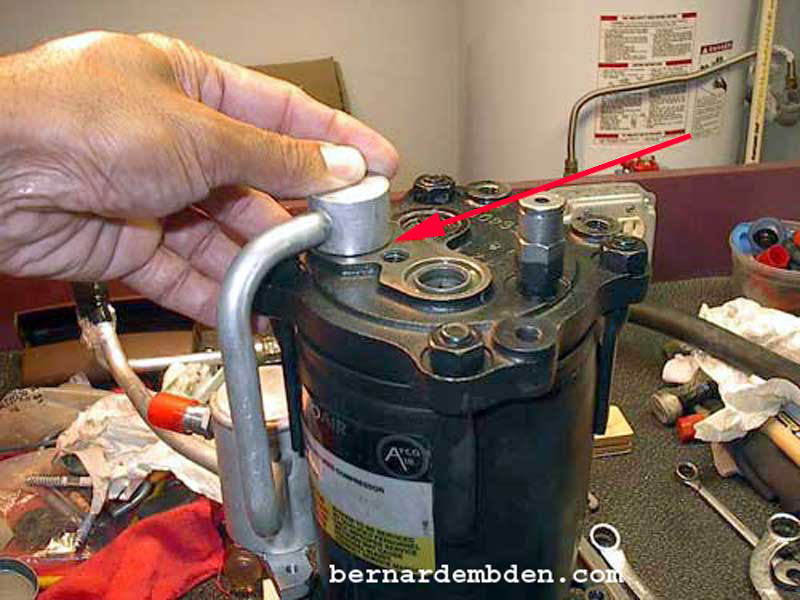
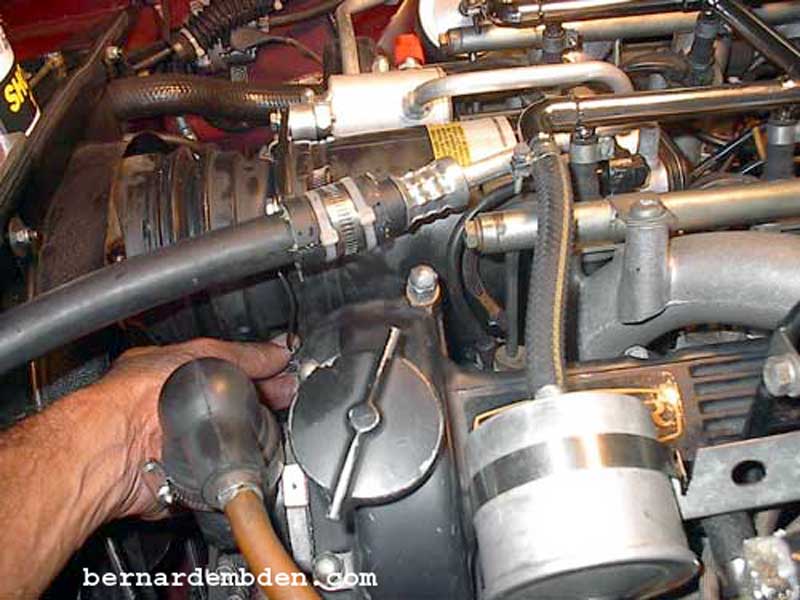
First, I needed to remove the compressor with the high and low side hoses attached. Before removal, I scribed a line on both high and low side hose/pipe connections and compressor body. (yellow arrow photograph below). This would allow me to diagnose, work on and replace the hoses back on the compressor in the exact prior location while on my workbench.
To keep moisture and debris out, plug all A/C hoses. If plugs are not available, improvise. Photographs below show aluminum A/C lines plugged and hoses plugged using plastic wrap and electrical tape. (red arrow second photograph below).
After examining the rear connection, my conclusion is that the connection leaked due to two factors.
1) The high side connection was not quite parallel with the compressor mounting surface
2) The recommended (revised) "O" ring package from Chevrolet, part # (part # 272-4674) was inadequate.
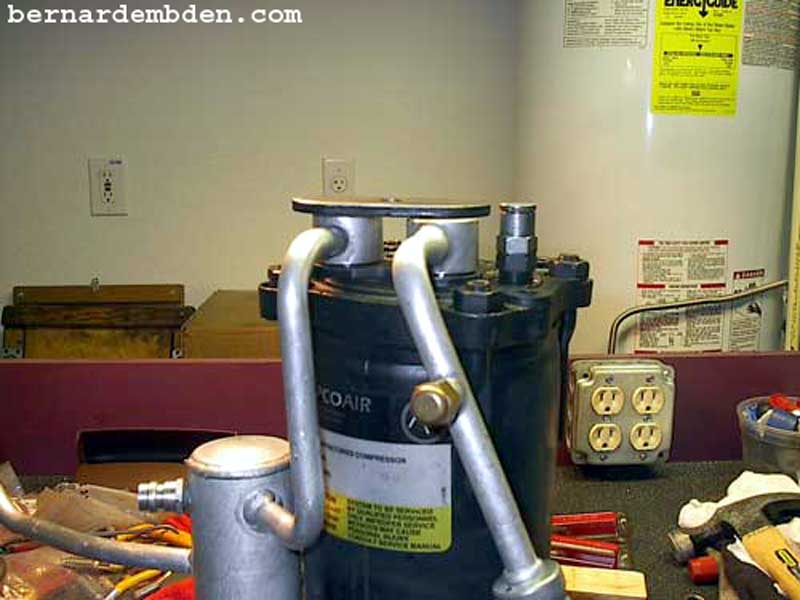
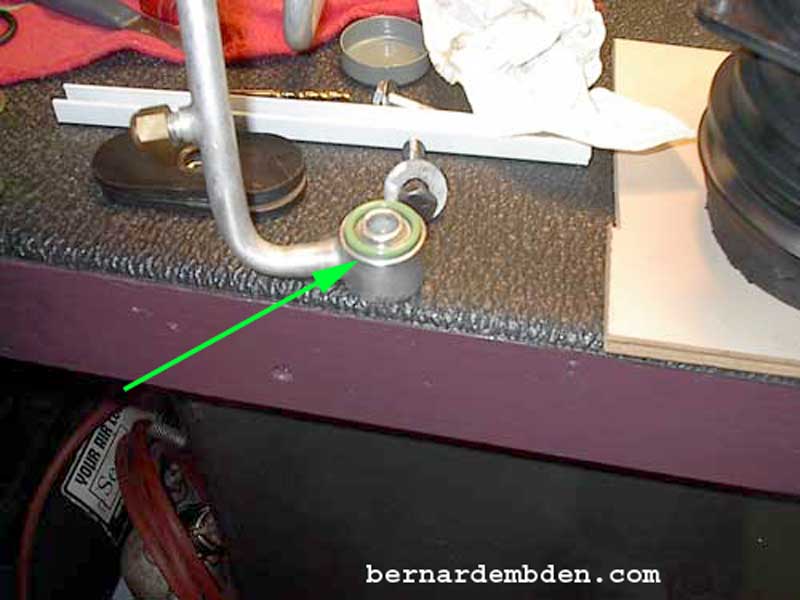
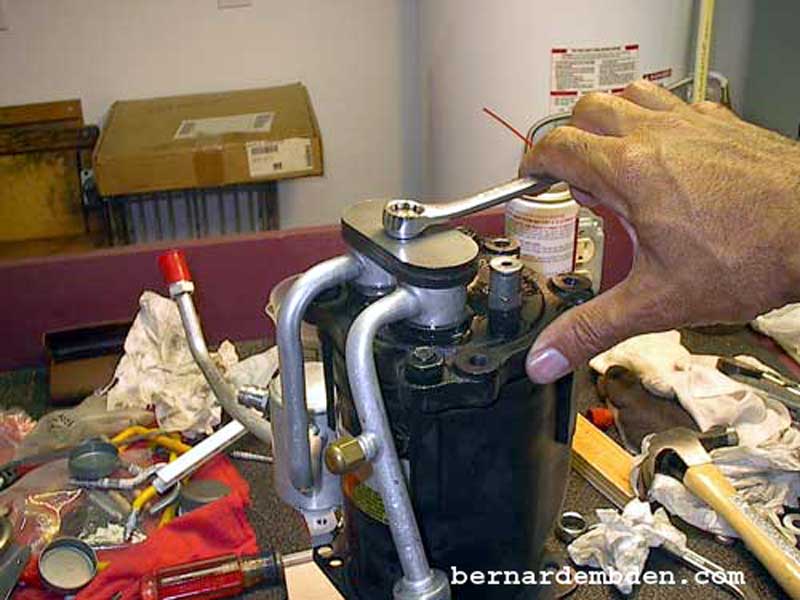
Pictured below is the high side compressor connection. Examine both connections (including the "O" ring seats) for pits, unevenness and or cracks.
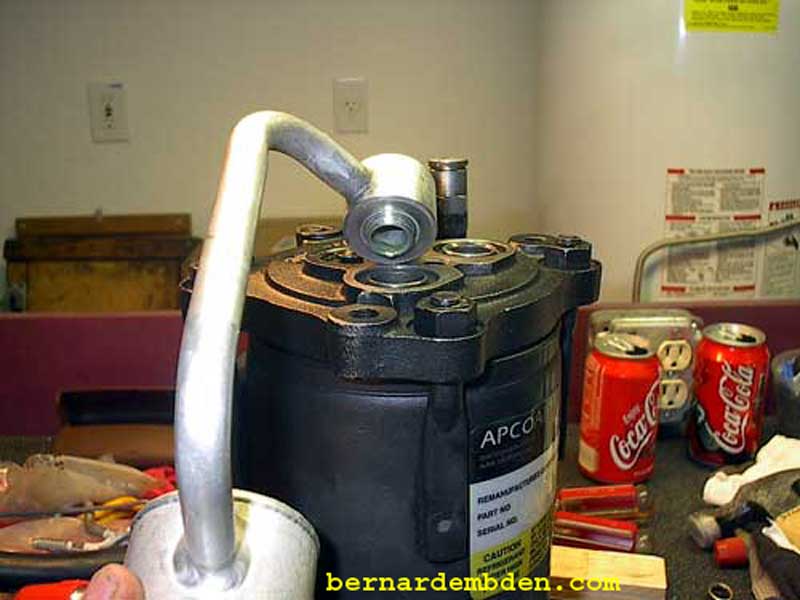
Place a straight edge against the compressor-mounting surface. (photograph below) The object is to make sure the mating surfaces are smooth and absolutely level.
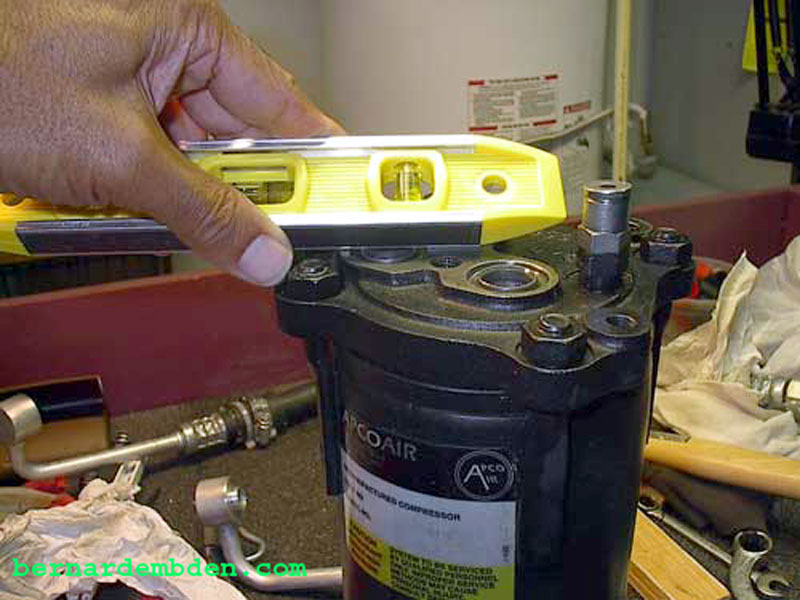
Examine the hose connections. Remove any imperfections with emery cloth.
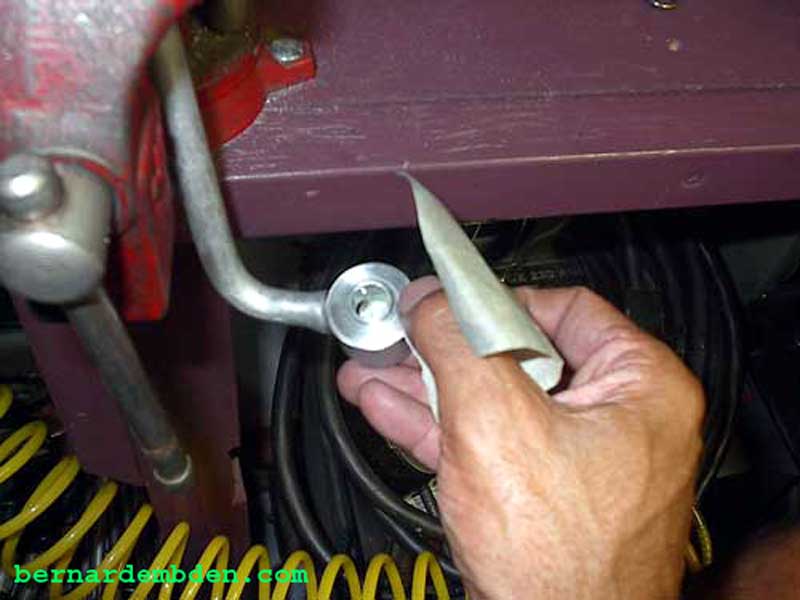
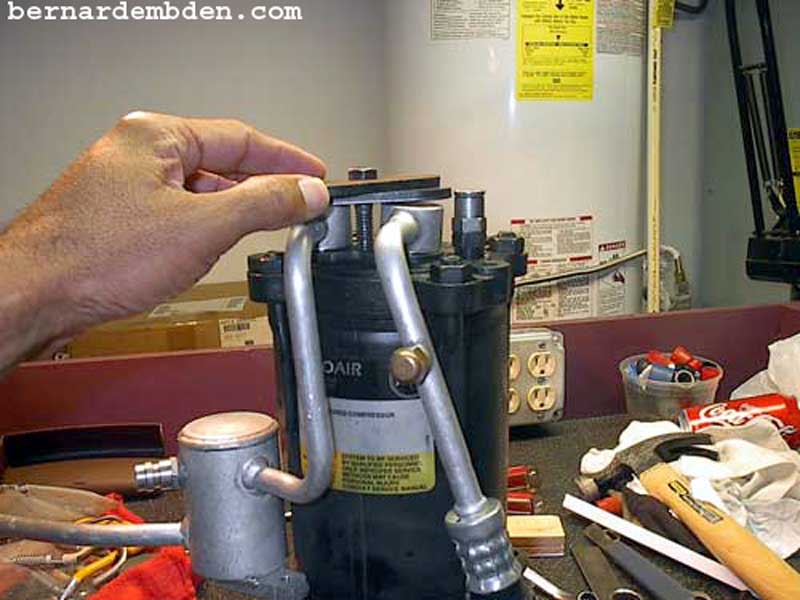
After ensuring that compressor body is level and both connections are clean, a dry (without an "O" ring) fit is the next step. (red arrow photograph below)
Fit the A/C pipe connections individually to the compressor by hand. Make sure both connections align parallel with the compressor's mating surface. They must not tilt or rock. They must be flush with the mating surface of the compressor along the entire circumference of the compressor. If they are not, fix the problem or replace the part or parts in question.
If you proceed without fixing this problem, the connection will leak.
The compressor rear connections are held in place with one bolt and a single clamping plate. The bolt is invariable over tightened, resulting in bending of the clamping plate. This bending usually results in one or both rear compressor connections being non-parallel with the compressor-mating surface. Inevitably, the connection or connections affected will leak.
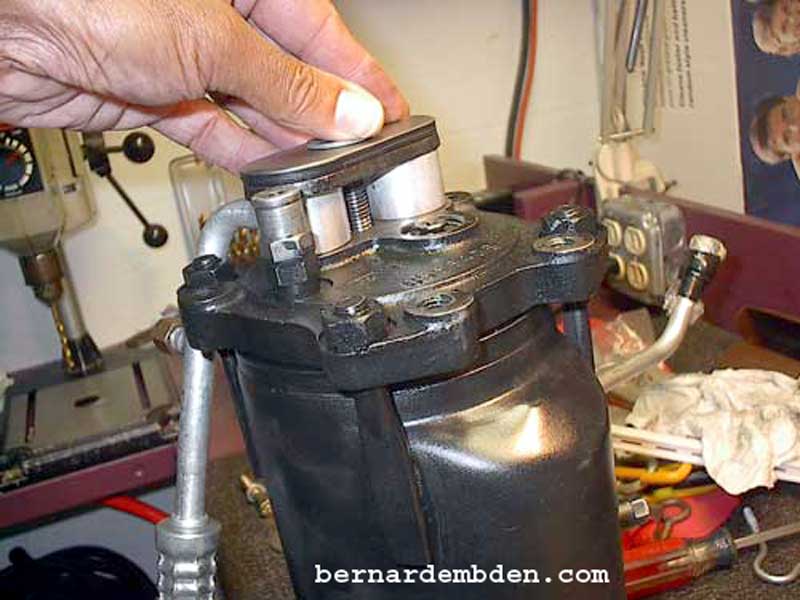
My solution, Use two clamping plates
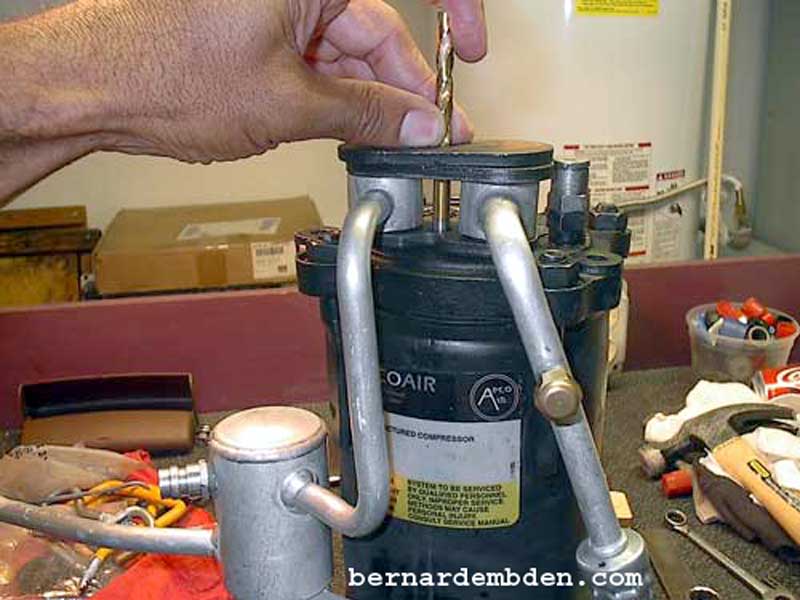
The original holding bolt is too short for the thickness of two plates. I used a drill bit to measure the length of the required bolt. (approx. 2 inches). Make sure the new bolt has at least the same or better hardness rating as the old bolt. (photograph below)
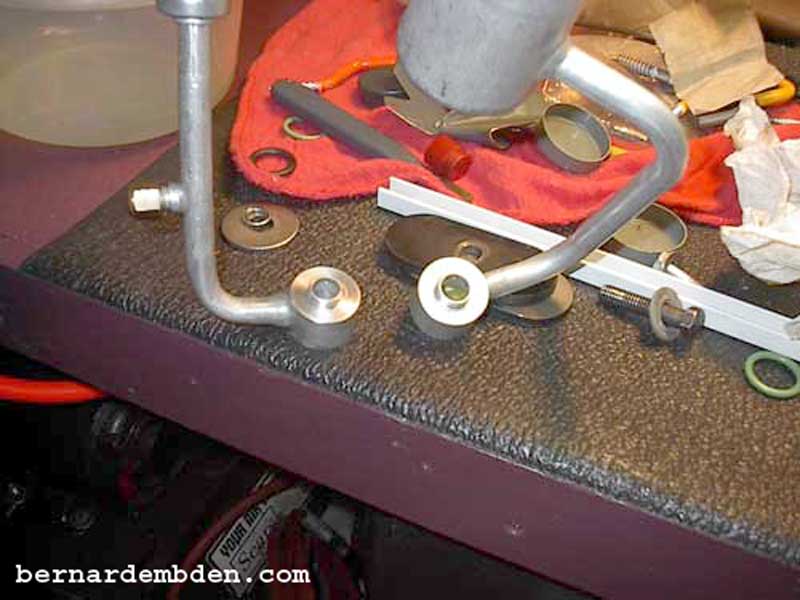
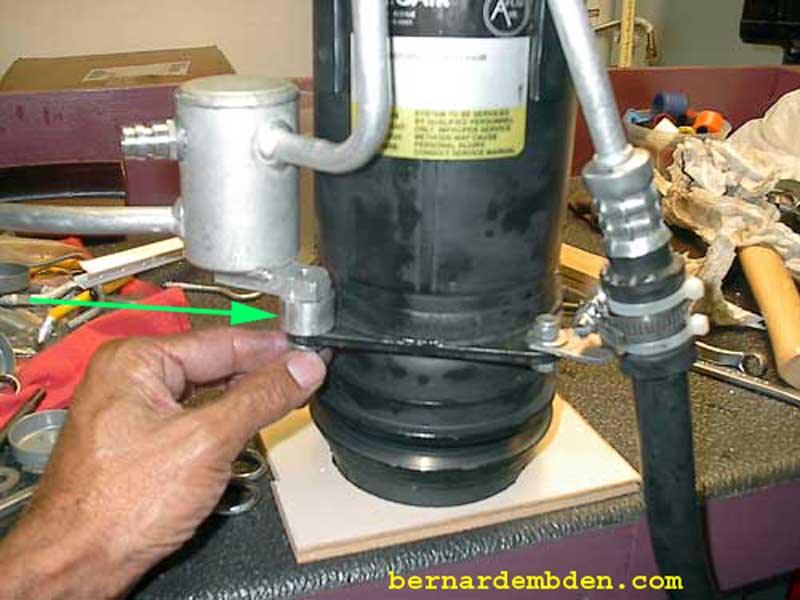
Pictured below (green arrow) is the surface of the A/C pipe connection the "O" rings mate with. I believe "O" ring selection is critical to a leak proof connection. "O" rings (part # 211-HNBR, which replaces part # JLM-11098), can be sourced from the dealer or a number of Jaguar resellers, including Coventry West. www.coventrywest.com. I do not recommend the Chevrolet revised "O" ring package (part # 272-4674).
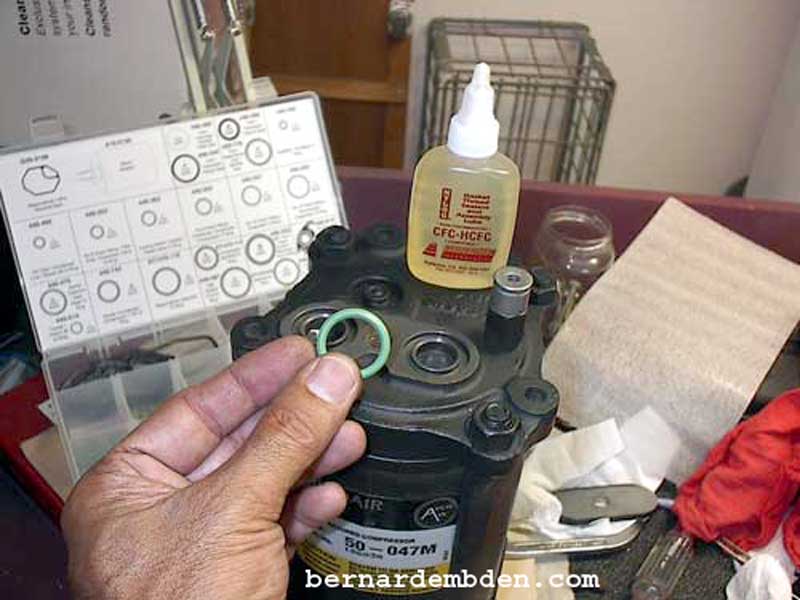
The best "O" rings that I have found for this project is part number 440-256 (photograph below) available from AC Source.com. www.acsource.com. Note that "O" rings should be oiled liberally with Nylog prior to assembly. It's a refrigerant "O" ring assembly lube that seals the "O" rings and prevents leaks. Make sure your hands and working surfaces are absolutely clean.
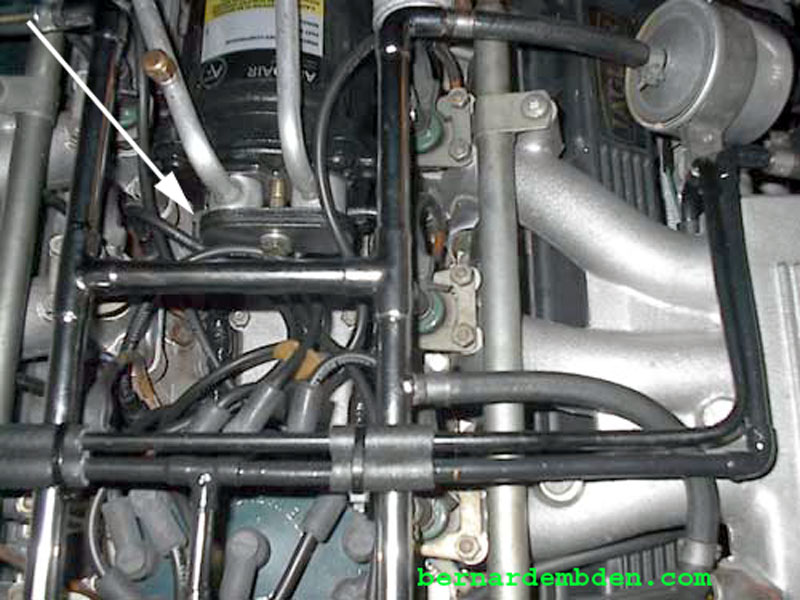
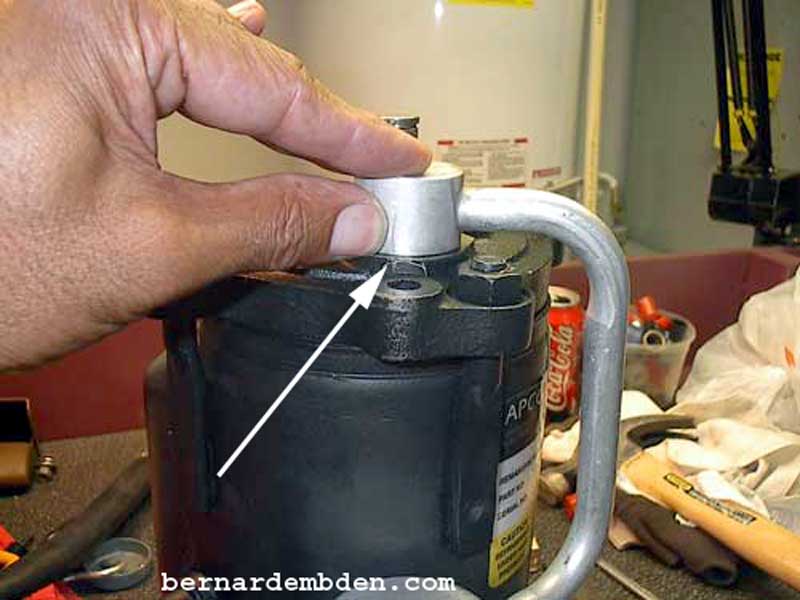
After "O" rings are installed, mount connections to compressor mounting surface. Make sure you align the scribe marks on both high and low side fittings. (white arrow photograph below)
Attach dual clamping plates and revised (2 inch long hardened) bolt. Hand tighten only. Check alignment scribes and seating of the hose connections. Make sure they are parallel. Do not connect the hose or muffler brackets at this time. Only after the connections are satisfactory should the clamping bolt be tightened.
Jaguar recommends tightening to15 to 25 ft. lbs. I recommend 45 to 50 ft. lbs. on the dual plate arrangement. Take your time. Once the "O" rings are compressed, they must be discarded if you make any changes on the position of the A/C pipes. This connection should not be moved once its tightened and the "O" rings compressed.
Once the rear connections are complete and tightened, (you did line up the marks) then the hose and muffler brackets should be attached. (If attached prior, they might interfere with the alignment of the rear connections). The muffler shim is fabricated from stock aluminum, (green arrow photograph below) the other bracket is my fabrication.
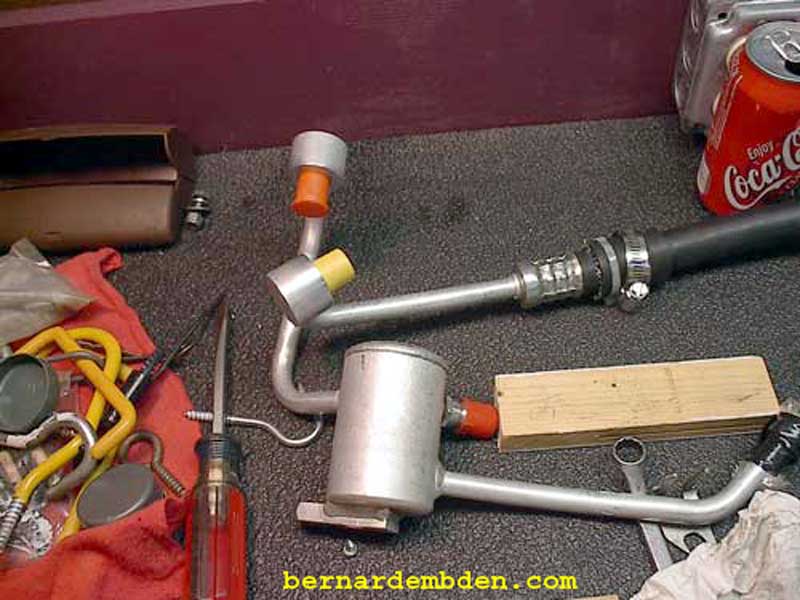
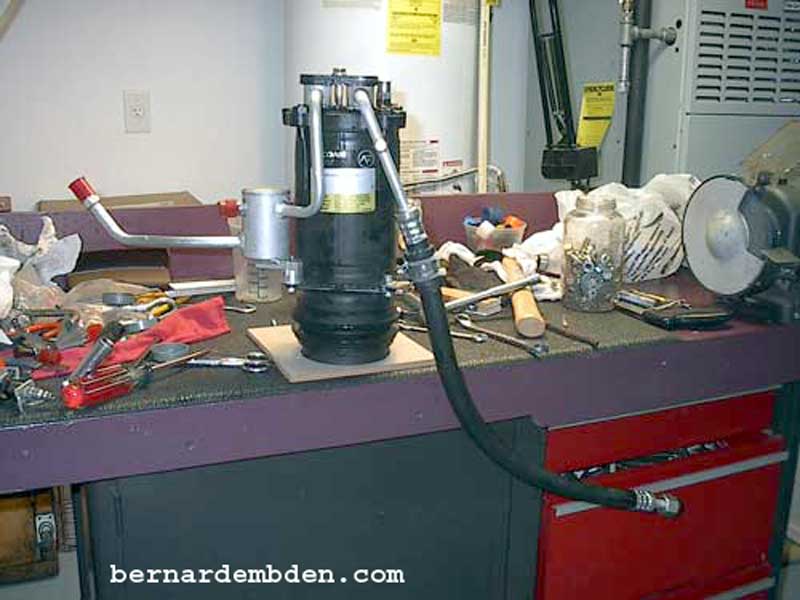
Pictured below is the compressor with all connections and brackets completed and hoses plugged. This unit is ready for installation.
The GM A-6 compressor is no lightweight. It can be installed by one person, but it's a bear. Lay the compressor in its position, making sure the hoses are clear.
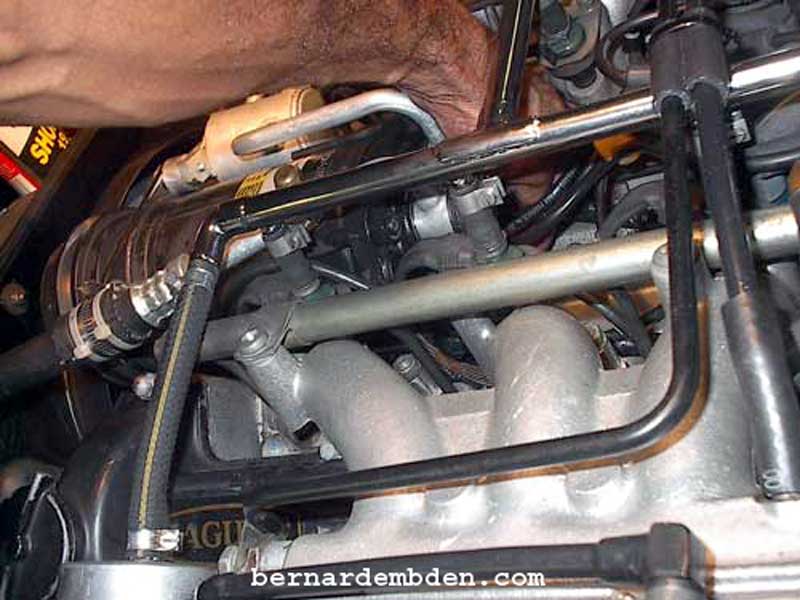
Using screwdrivers in the mounting holes, lever the compressor until you can attach the bolts. Use new "O" rings for the hose to fuel cooler/condenser connections.
Dual plate installation complete. (white arrow photograph below). If this project is done properly, leaking at the rear compressor connections should not be one of your A/C problems.